Finish up and relaunch
This section covers installing the depth and speed, new bottom paint, and redoing the engine compartment sound proofing.
After removing the old display unit I had to reduce the size of this hole. I epoxied in a piece of marine plywood.
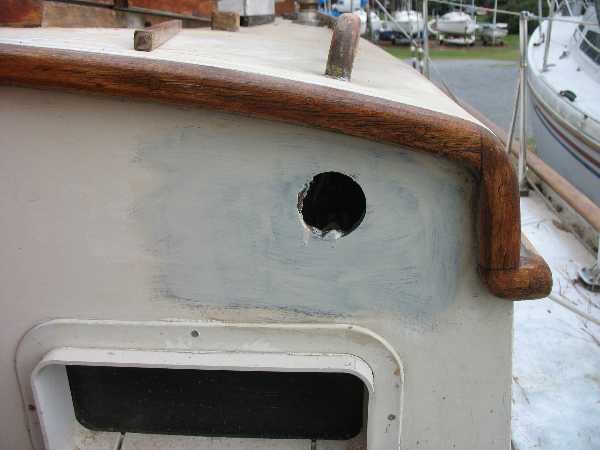
Then I faired it by trowelling on a couple of thin coats of thickened epoxy and sanding. Then I applied a primer coat and a couple of coats of Interlux Brightside.
Then I drilled the hole shown here for the Raymarine ST 40 Bidata unit. This displays speed and depth. It also has a temperature sensor on the speed paddlewheel. I picked this after much research.
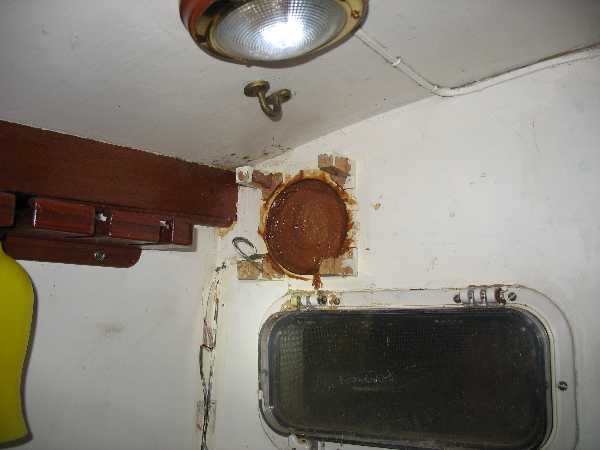
This was the old location of the depth sounder. It didn't make any sense to me to have it located here. I used the same method as above to patch the hole.
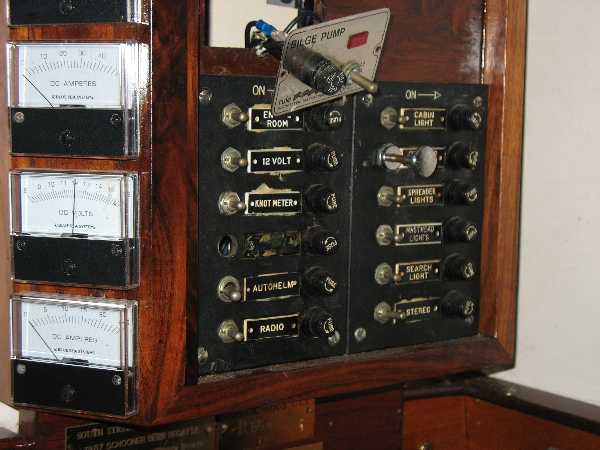
I reworked some of the switches. In particular I was able to use one switch for the depth/speed. I was also able to separate the steaming and running lights into separate switches.
There are several steps for which I did not get pictures of. First I mounted the transducers using 3M 5200. For the depth transducer I had to deal with the deadrise. I used a pvc pipe cut at an angle matching the deadrise to make sure it fit securely. I had a challenge running the wires through. There is minimal clearance between the sole and the hull. After several hours of toil and struggle I got the wires run back to the instrument. I used the existing ships power wires. I could not wait for the boat to be launched to test the instrument.
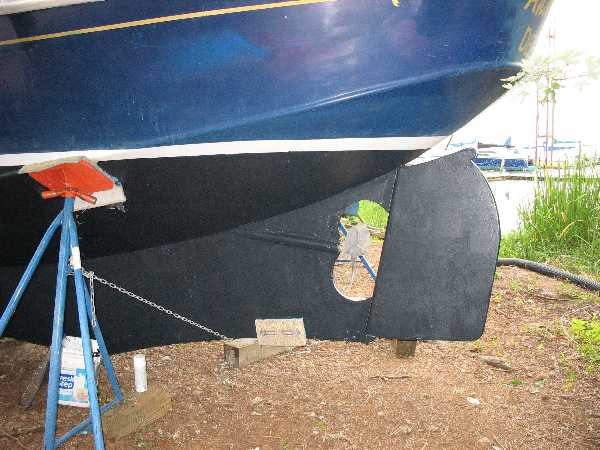
Side view of the rudder. One can clearly see the hard chines.
Back view. I got two coats of Biolux on. I had originally wanted to paint it blue. But there was no blue Biolux in the store. So I picked black. The cashier argued with me about why I was using Biolux. He said that it wasn't necessary if I had a barrier coat like I do. My theory is that if there is a pinhole in the barrier coat and I use a copper or copper oxide based antifouling then galvanic corrosion will set in around the pin hole. Why take this chance?
I bought two gallons. I had a quart of blue already. For the first coat I mixed the blue with the black. I wanted to get enough contrast so that when I put the second coat on I could see where I missed. As it turned out the blue did not show up in the black well enough for me to tell. But it extended it sufficiently to cover the whole boat. I put the second coat on.
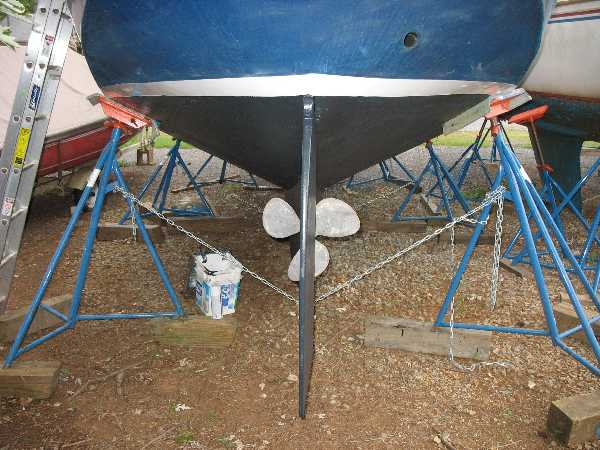
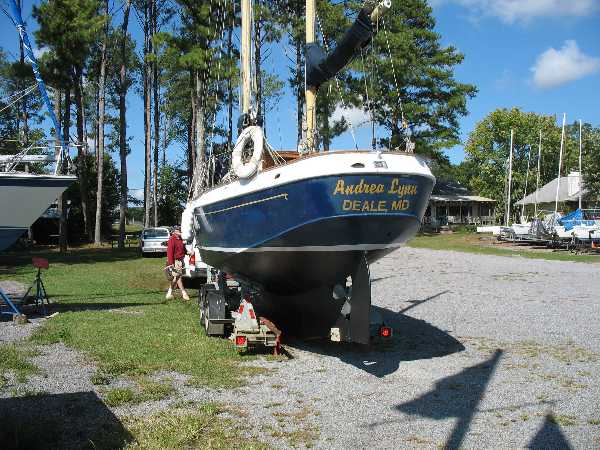
Front view. I like the black. Next time I will use black.
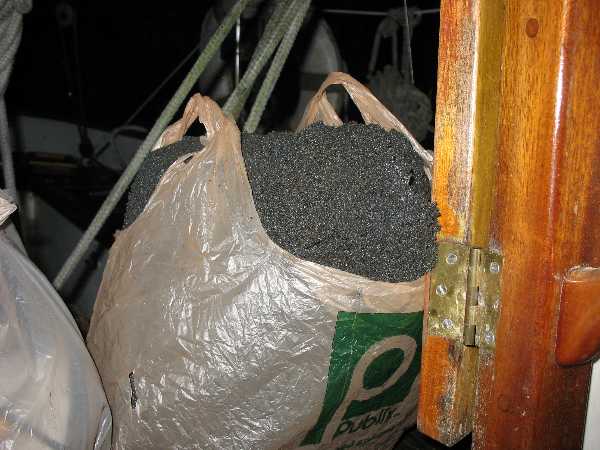
All this crap was the old sound insulation for the engine compartment. It was crumbling and was always a source of small black crumbs that had to be continually cleaned up. On the big cruise the seawater pump had leaked salt water all over it. It still had salt crystals. These are hygroscopic and give a damp feel to this.
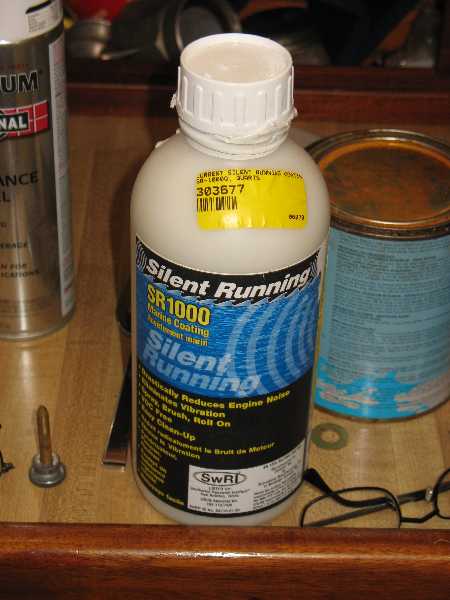
I used this sound reducing stuff instead. It looks much neater and is definitely cleaner.
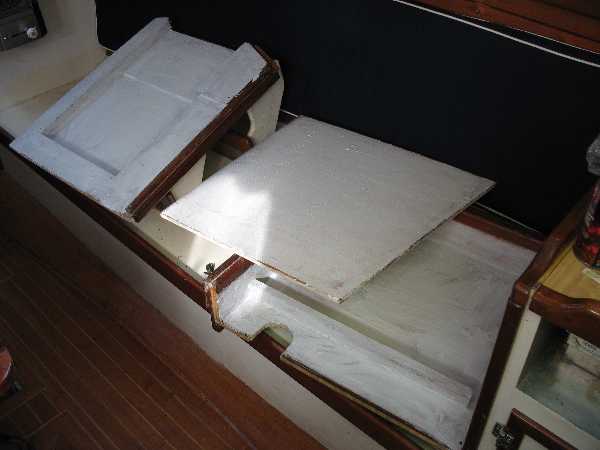
I painted it all over the inside of the engine panels.
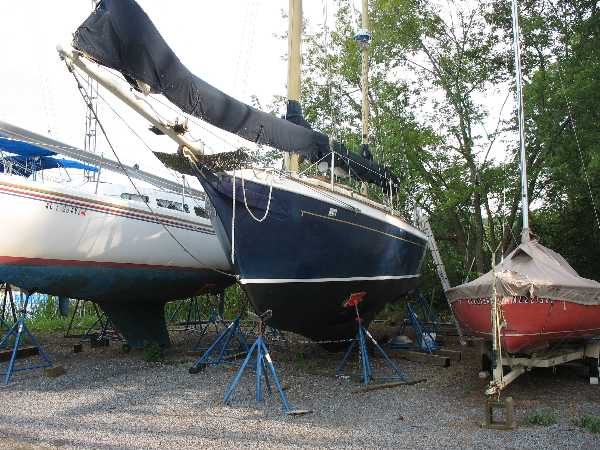
Here the boat is about to be relaunched. Ernie had transferred the boat from the jackstands to the trailer by removing all but the back jackstands and backing the trailer. He then engaged the arms to pick up the boat about 3 inches off the ground. Then he drove the boat to the ramp and started backing down. He asked me to hold the rope tied to the samson post. He then backed it down the ramp. I was expecting a slow entry back into the water. Instead he let the arms go all at once and the boat splashed into the water. I held on to the rope as best as I could. I dug my heels into the dock to stop the boat from moving backwards.
I then went below to tighten the speed paddlewheel and check for leaks. Ernie had loosened it so it would not impinge on the hydraulic arms of the trailer and get mashed.
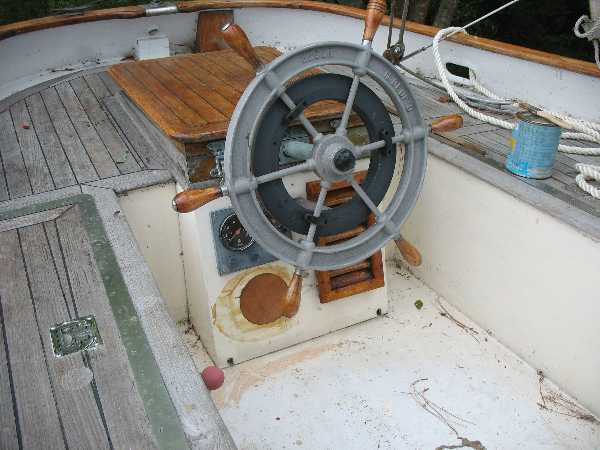
When I tested the speed and depth sounder it worked quite well. I could read the numbers from where I sat at the wheel. It has a light for night sailing. Most importantly it worked reliably.