This week I focused on getting the cockpit coaming completed.
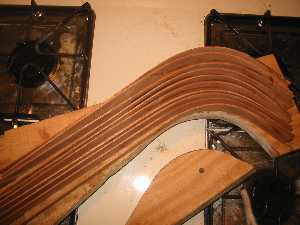
The pieces have dried and are ready to epoxy. They took a good set from the steam bending.
The piece is just cured. There was absolutely no springback when I removed it from the mold.
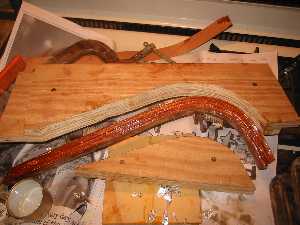
Here it is dressed up and dry fit to the coaming.
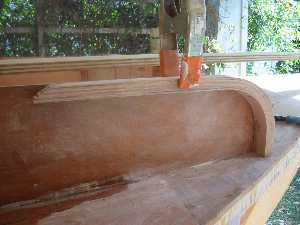
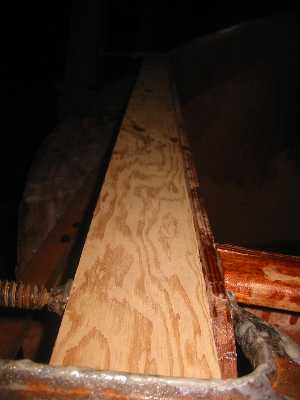
I put a scarf joint in this peice and the flat piece for strength. Even though epoxy is roughly as strong as the wood it is better to use a joint like this rather than just butt the pieces together. Plus this will look better as it will be finished bright.
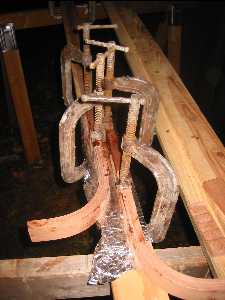
As always it is better to glue in stages. Here I glued the curved pieces to the flat pieces at the scarf joint to make the coaming railing.
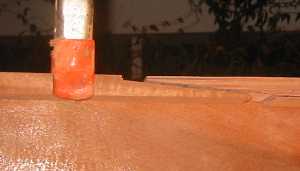
Here is a flat piece I clamped against the port coaming to help straighten it out ahead of time. I was quite successful at this.
Here the coaming railing is installed.
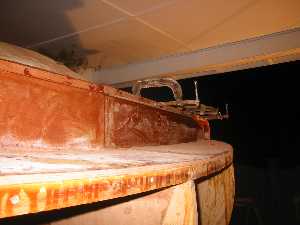
I put a railing on the edge of the cabin top. This gives better proportions to the placement of the portlights. All that remains is to bung the screw holes.
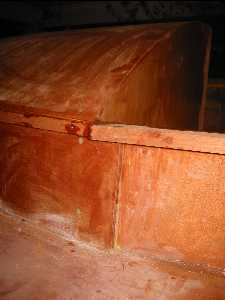
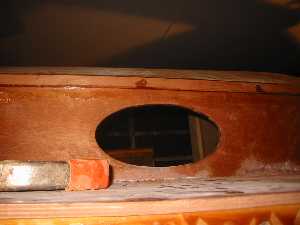
A view of the transition between cockpit coaming and cabin side.
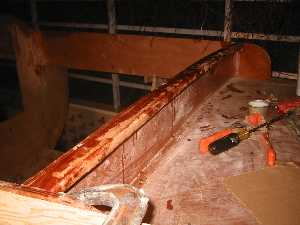
The railing for the back coaming is installed.