Completing The Hatch
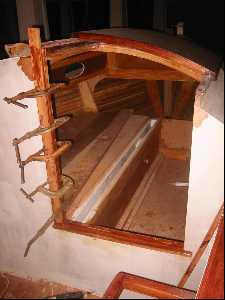
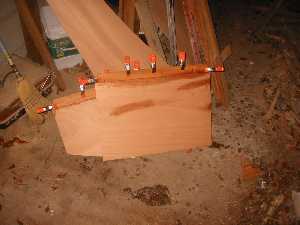
With the top done, I start on the side. This will be a simple set of boards and slots. Here I've built the base and clamped up the left side.
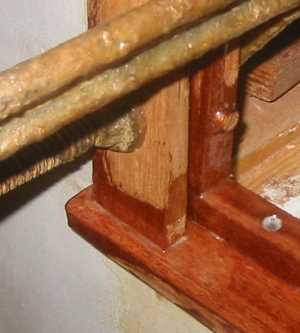
Here I've detailed how the frame is built. The inside of the base is built up and the outside is left flat to allow rain water to run out. Also shown is how the slot is arranged to hold the boards.
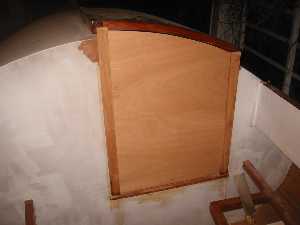
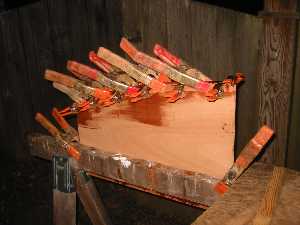
With the frame finished I cut out the boards. I used quarter inch ocoume plywood. In my carport the ceiling is too low to permit me to put in a single full length board so I cut it in half horizontally.
Here is where I will stow the boards while sailing. A double board also allows easier stowage.
I will paint the boards white but add a bit of trim. The trim helps to keep rain water out.
The top trim here serves as a handle and widens the top lessening the chance of water running inside the hatch. I did this by drilling holes for finishing nails to act as a jig. Then I glued in some 1/4" square strips of mahogany in both sides. Once cured, I pulled the nails out and filled the holes. The strips protruded beyond the plywood so I had to sand it down even.
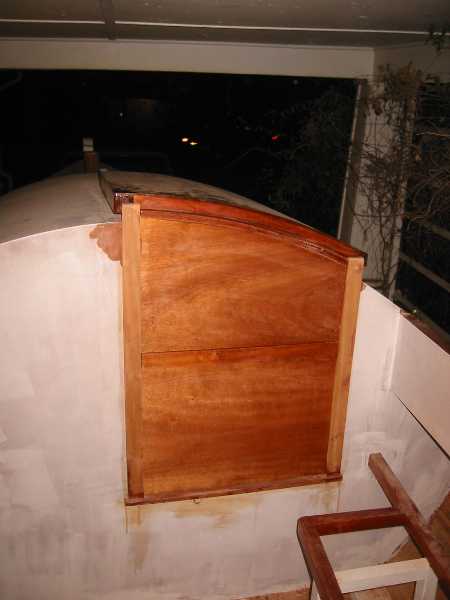
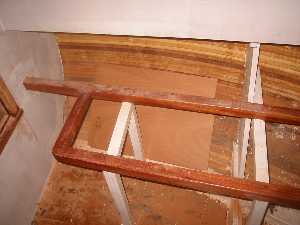
Here is the finished hatch boards. All that's left is some sanding and painting. Or do I want to leave it bright?