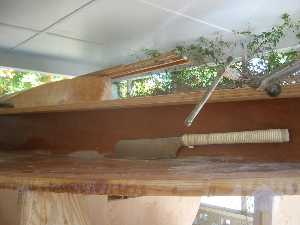
I did a lot of things today. First, I fixed a problem with the coaming. I had installed it on 10-5-3 and later noticed that the port side was bowed out near the top edge. In order to reposition it I had to cut the epoxy joint. Here you see the saw in position to do this. I also used a torch to carefully heat and soften the epoxy. I clamped this straight piece to help force it straight.
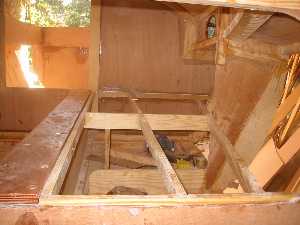
Here I finished the framework for the berth.
Porthole construction
Editors note: I abandoned this approach for the one shown on 1-21-5.
As I said elsewhere in this website, bronze portholes look very nice but they have problems. First, they are too heavy for this type of boat. The designer has put an emphasis on light weight, particularly in the cabin top. I am not about to deviate from the plans in this critical area of design, lest I wind up with a boat that doesn't perform well. Also they are horrendously expensive, e.g. equivalent to the cost of the rest of the dang boat!
Thus I have come up with a substitute. The plans specify plexiglass that is somehow mounted inside the edge of the cabin. I had to come up with a frame that will hold the plexiglass and look nice on the inside as well as save weight. Furthermore I wanted the portlights to be easily removable in case I need to replace the plexiglass.
Here I show how I make the frames. The easy way to get some frames would have been to cut 1/4" plywood and glue it up. Instead I wanted to make the wood grain be tangential to the edge of the porthole. Thus I came up with a scheme involving eight segments. This is easier than it may look.
I consider this in some ways an experiment or a "let's see what I can do" type thing. In general, as I do stuff I like to learn things along the way.
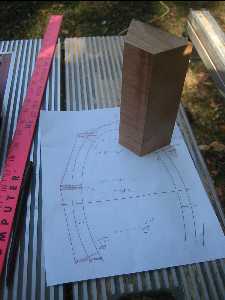
A piece of mahogany is cut and checked against the diagram.
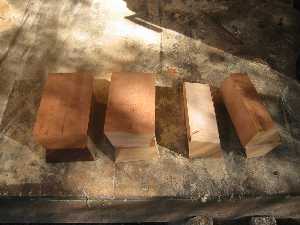
All of my pieces are now cut.
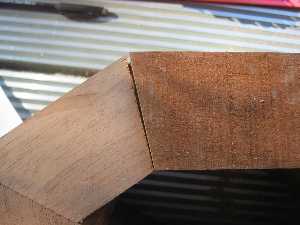
Even after careful cutting, there still was a bit of discrepancy in the angles. I dressed this up with a beltsander.
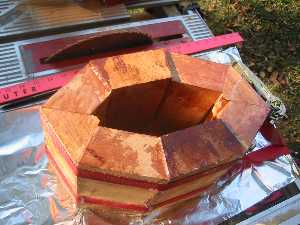
I have glued up all the wedges to make a rough ellipse.
I wetted mating surfaces with epoxy, then painted on epoxy mixed with West 405 Filleting blend to get a similar color to the wood. I positioned the pieces and cinched it down tight with these straps. I wanted no gaps or if there were some to have them filled with epoxy.