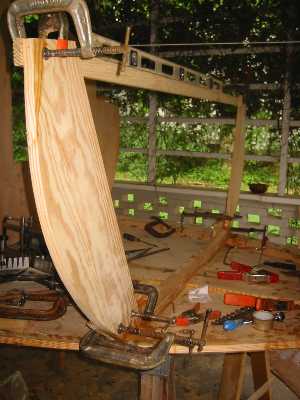
So I can just slap all the bulkheads together in a short time and expect good results? Wrong! It took close to a week to assemble and glue them in place. Here I'm using the square to make sure the #3 bulkhead cures in the proper position.
Here I noticed a gap between #3 and the centerboard trunk. It was about 3/4" square. I decided to make the starboard side like the port side by installing a piece of wood about 2 1/2" wide.
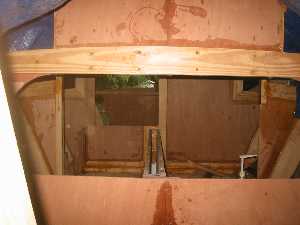
The #4 frame was the last to go in. Before gluing them in I discovered a measurement error of about 1/2" so I trimmed off this amount.
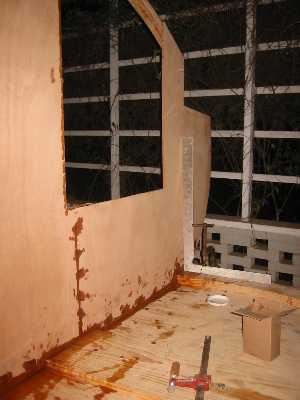
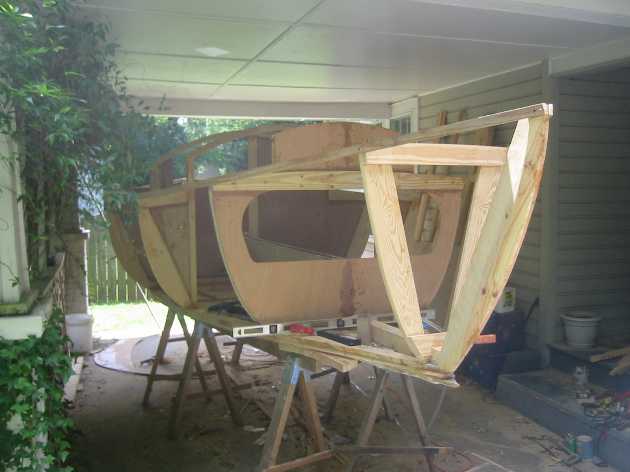
Here I start to get a sense of what the interior of the finished boat would look like.
It is important to get the whole boat level. To do this I used a tube filled with water. This leveling tool cost about $1.15 and is very accurate.
I discovered that the front of the boat was about 2" below the back. I used a car jack to lift it up and put shims in. Then I went over both sides with the water level tube.
Here I've installed temporary shear battens to see how the shear frame will fit in place. I marked off each frame for later cutting. The plans call for a shear frame that is 1 1/2" square.
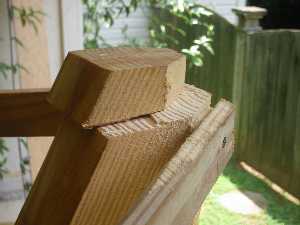
Here I caught a big mistake. The stern post was an inch longer than needed. I marked off and cut this end. This would explain why it was so difficult to get the shear batten to fit well with the #4 frame and #4A bulkhead. Also it looked like the back end stuck up too much. Soon I will sand this to the correct angle.
The shear now fits well and looks good.