If the keelson was difficult to deal with, getting the base row for strip planking is even harder. The plans called for a 3" wide x 3/4" strip of planking wood or a 1" by 3/4" piece of hardwood but based on my experience so far with bending wood this isn't what I ended up with. Who said boat building was always easy?
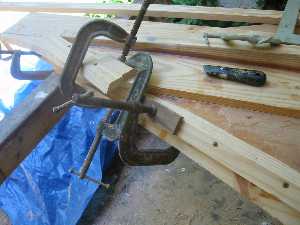
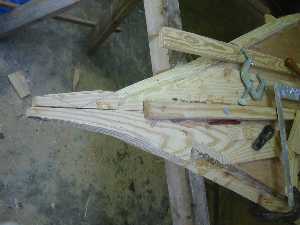
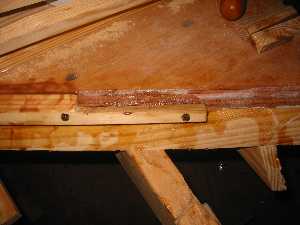
First, I thought I would cut two planks to 1 1/2" x 3/4" and put a 45 degree bevel them. Then I would screw them on as I bent them around the curve of the bottom. Sounds easy. Shown here is the complicated arrangement of clamps I came up with to secure it in place.
I then followed up with screws every 6" or so to hold it in place as I worked my way back.
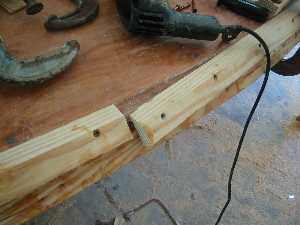
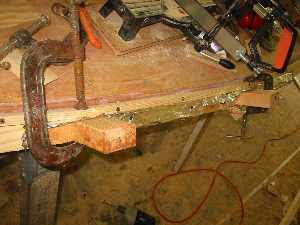
Looks here like I'm butt jointing this strip. This is not what I planned to do at first. The strip had broken where I epoxied it. The Southern Yellow Pine I'm using has hard and soft parts to the grain. The breakage shows that the wood failed for the soft parts but the epoxy bond to the wood failed for the hard parts.

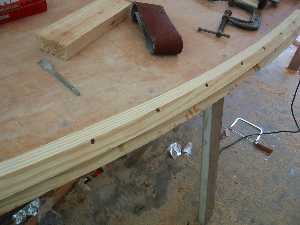
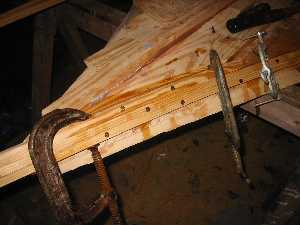
As I neared the stern, I eased the wood on into the curve. However I pushed too hard at one point and the strip snapped. Back to the drawing board ...
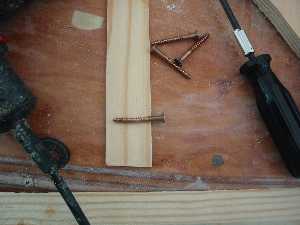
Also consider that the pent up stress in this wood forced this screw to become bent.
With the difficulties of gluing in to the corner, I decided to cut back the front keel. I will run the strips down to the base of the keel. This is a slight change from the plans.

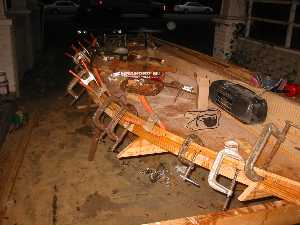
I thought that if I could clamp a series of beveled pieces to the edge, then a 3/4" by 3/4" strip would just lay in there nicely. I cut such a strip and proceeded to bend it in place only to have it break near the stern. I flung the broken piece into the back yard in frustration.
The next attempt, I screwed blocks of wood covered with foil in place. I thought I would clamp a 3/4" by 1/2" strip to these and epoxy it in place. My plans evolved as I went along.
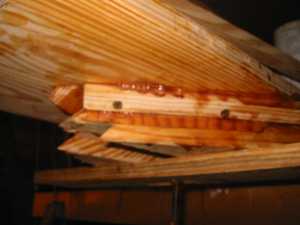
Here, I've laid this in place and screwed it in. I then poured epoxy in the V shaped groove and let it soak down into the crack between the strip and the side of the bottom. I then set a second strip in this V shaped groove and clamped it in place. I added more epoxy to the mess.
I had not cut the keel away on the stern like I did the bow. The skeg made this more difficult anyway so I went with a beveled strip to fit the angle here. It would have been easier to wait to put the keel and skeg on until after I installed these first strips.
Since this strip is 1" thick I cut an offset into it to receive the two 1/2" strips and stagger them a bit. I did something similar for both sides.
For the bow, I've begun to fill in the extra wood that I had taken in order to produce the final shape of the bow. I used two screws and a good bit of epoxy to secure this piece as it would take the brunt of going aground or beaching. I'm thinking I will put extra fiberglass cloth here before I'm through.
Looks like I have a workable solution. Once I get the port side stripped out like the starboard side, I'm thinking I will lay some more strips like this to get a good, secure base for starting strip planking in earnest.