A Solar Powered Vent

4-2-9

In June of 2002 I noticed that the overhead was turning black with mold. I quickly came up with a solution - a Solar Nicro vent. This doesn't use any battery power but runs day and night to circulate air and keep the boat dry. I had installed it over the main cabin. I thought that would be the end of the story here.

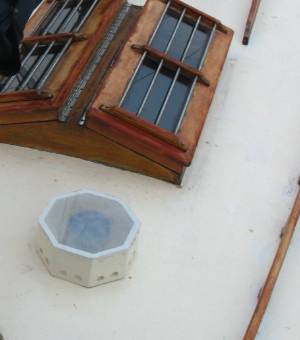
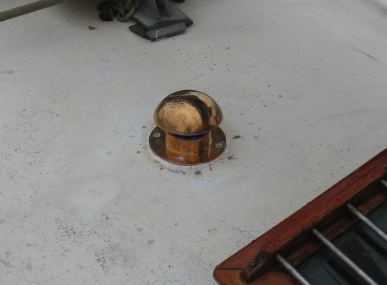
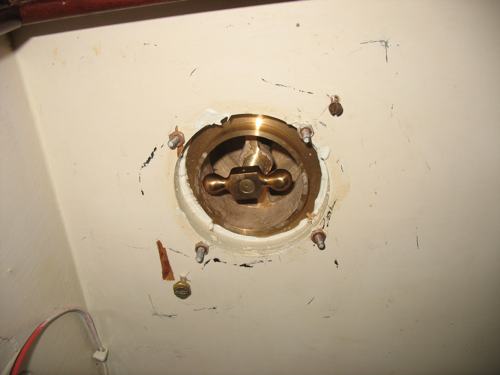
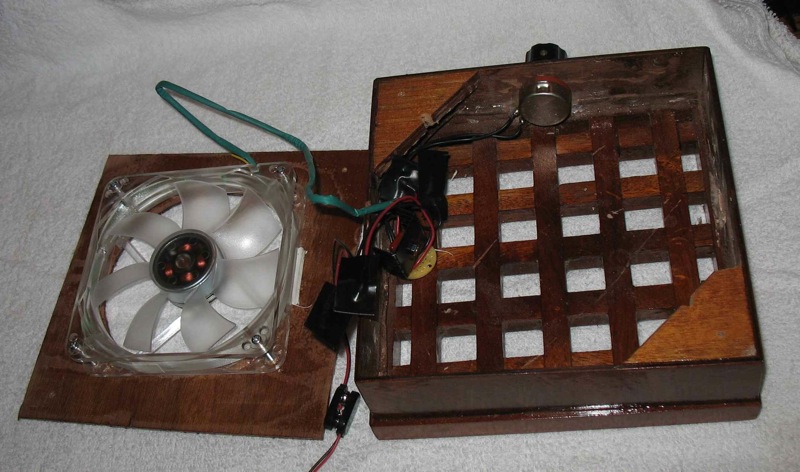
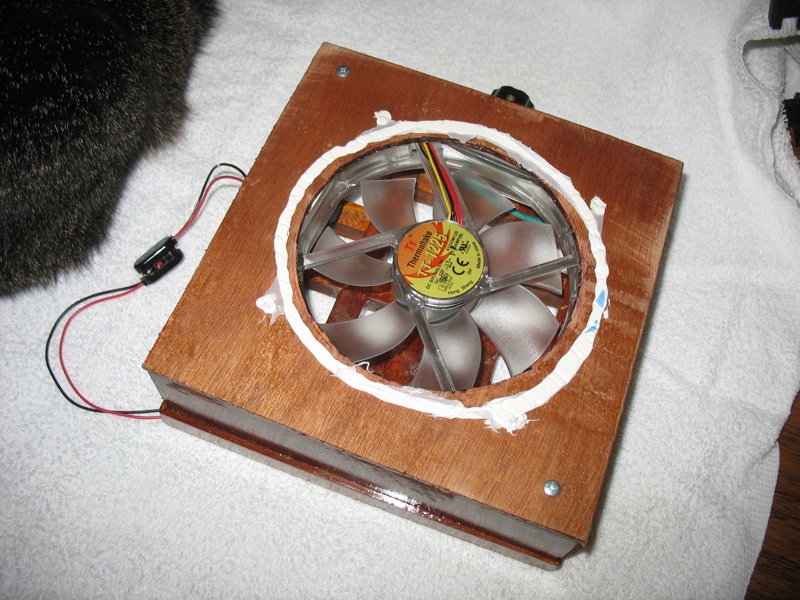
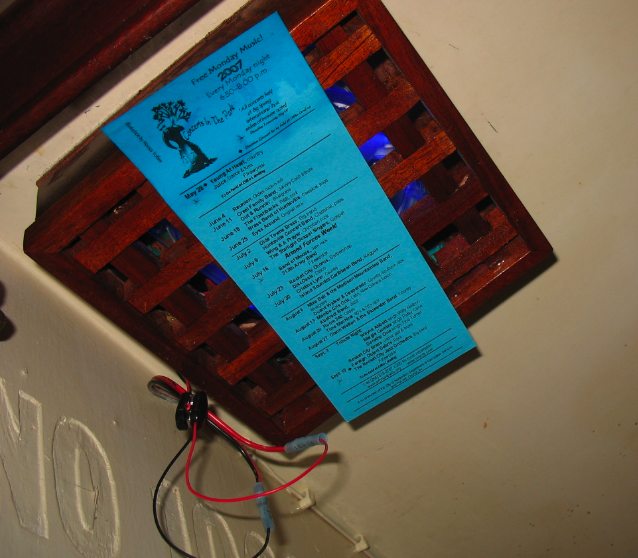
As time passed though I noticed it tended to leak a little bit when it rained. Another problem was the fact that the head often smelled bad. When I added the battery charging solar panel I had to move the vent. I moved it to the head. To fix the leak problem I built the guts of the fan into an octagonal enclosure that allowed it to work. It had holes in the side to allow air out and a translucent cover to allow sunlight in.

The vent fan used a little ni-cad battery that charged during the day and then ran the fan overnight or on cloudy days. The problem was that after two or more consecutive cloudy days the battery ran low and the fan stopped working. If the battery wasn't new it held even less charge. Don't get me wrong - the Nicro Vent is a quality product - I just didn't like the way it looked on my boat.

Later I moved the boat to a new slip. But that created a problem. If I put the boat bow in this vent was blocked from sunlight. The diffuse light available in the shadows wasn't sufficient to keep it running. If I backed the boat stern first in the slip it worked fine but the battery charging solar panel was partially blocked. That worked but just barely.

A solution seemed to be to somehow hook up the vent motor to the battery system and use the main solar panel to power it. Then it would run all the time regardless of the number of cloudy days. The problem with this was that the solar panel was 12 volts but the motor ran on 1.5 volts. I thought about stepping down the 12 volts to 1.5 volts with an LM317 voltage regulator. The problem here is that this is a so called linear regulator. It steps the voltage down by using what is in essense a resistive voltage divider. It dissipates most of the power as heat. In this case about 88% of the power would be lost. Also what if the regulator failed and passed the full 12 volts to the fan? So I moved past this solution without even implementing it.

The next step was to build a small 4 cell panel to power the motor. The idea is that if the boat was bow into the slip it would use this panel to run on. But if the boat was stern first in the slip it would use its original panel to run on. Also no voltage step down was needed. I used a science kit and some plexiglass to make a panel. It ran the fan motor just fine. I placed this panel behind the butterfly hatch and wired it up. This worked ok but wouldn't win any beauty contests.

I decided I could do better. I looked around the web. I recalled seeing catalog item #HL-1570 on http://www.classicmarine.co.uk. I queried the Wooden Boat Forum for ideas. I got a good deal on this brass vent on Ebay.

For the fan I looked around for 12 volt dc brushless motors with fans and then hit upon computer cabinet fans. They are small, cheap, quiet and plentiful - all very good attributes. Chuck on the Wooden Boat Forum graciously offered to send some small computer fans that he had. I give special thanks to him.

Removal of the old octagonal abomination was difficult. It was glued on with 3M 5200 and 8 bronze phillips head screws. When I installed it I obviously had not planned to remove it. First I used a soldering iron to heat the screws and soften the epoxy. I cleared out the phillips slots and eased the screws out. I then pried and sawed away at the 3M 5200 with a Japanese hand saw. Finally, after about 1 ½ hours of effort it came loose.

Then it was a simple matter of drilling 4 holes, gluing, and bolting in the new fixture. All that was left was to patch the old holes and paint.

Next I turned to the inside. This brass vent has a handle that allow one to close it from the inside. Normally I would keep this open unless I was at sea and there was a lot of waves breaking over. Also I can turn it shut from the outside so I'll cover this up.

I designed the vent to look fairly traditional but accommodate the small computer fans. I used the toothed mahogany grate stock that I had left over from the earlier deck grate project. I had not cut this first stock quite perfectly so I had set it aside. With a little sand paper I was able to make it work sufficiently for this. I fitted the pieces together and glued them up. Once the glue was dry I thinned it down to about 3/8 inch with several passes through a thickness planer. I made a border the same way and glued it on.

For the fans I built a small square enclosure. I used 4 pieces of 1/8 inch Sapele plywood for the outside and a 5” square of the same stuff to mount the fans.

Finally I devised a way to mount the cover on the overhead so that it was easy to snap off but would stay secure. I ran a wire up from aft and it was good to go.

Below is the finished vent.

Update 11-21-9

After using the fan for several months I found that mold was occuring sometimes. Also on several occasions I noted that the temperature and humidity were higher inside the boat than outside. These indicated that air needed to be moved through at a higher rate than these fans were putting out.

I rebuilt the assembly using a 120mm fan. Since this fan is a bit loud at full speed I wired in an adjustment knob. This adjusts an LM317T voltage regulator that controls the voltage going to the fan. At low speeds it is very quiet and uses about 100ma. At full speed it will move quite a bit of air but only use about 300ma.

I secured the fan in place with velcro strips (not shown). I also fitted a 9 volt style quick disconnect. In severe weather sailing I can remove the unit and close the vent quickly. I also made a crude gasket using a bead of 3M 5200 to help form a seal.

Once installed I did a test by placing a piece of paper on it and letting go. It held in place which indicates a good suction.

In the coming months I will be evaluating whether sufficient air is now being moved to dry the boat and prevent mold. I will also be watching how much battery charge it uses and whether the solar panels can replenish it adequately.