

I bought this piece at Hardwood Center in Scottsboro, AL. www.hardwoodcenter.com This air dried mahogany is the some of the best wood for boat building.
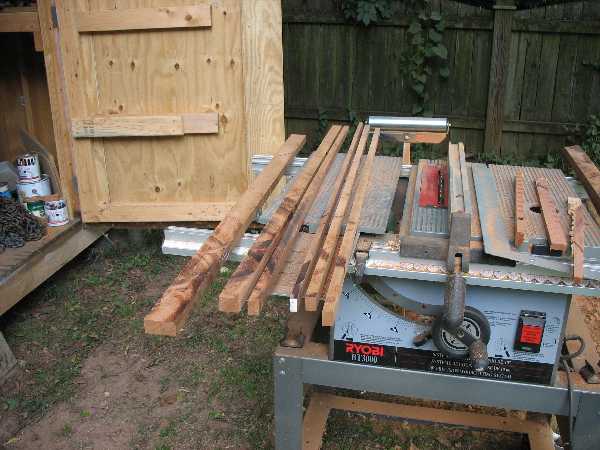
The first step is to rip it into strips just larger than 1/2x1 inch. I then surface plane them to 1/2 inch on either side. This removes the saw marks.
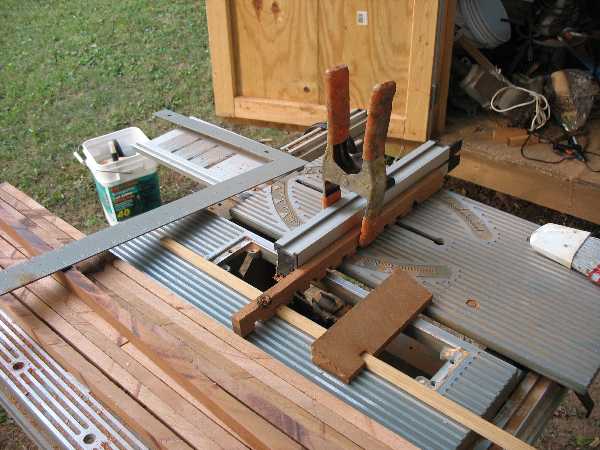
I fitted a dado blade set to the saw for cutting 1/2" dados. I also hot glued a guide strip parallel to the dado blade. The goal was to cut 1/2" dados on exactly 1 1/4" centers. This results in 3/4" square holes when I later cut and assemble these. It is very important that the following be observed in this step:
- The dado blade must be set to cut a 1/2 inch deep dado.
- The guide must be parallel or the strips will be hard to push through and a distorted dado will be cut.
- The height of the guide must be slightly less than 1/2 inch. Otherwise the piece will walk up on each pass, resulting in a progressively shallower dado. I made that mistake in one of my earlier trials.
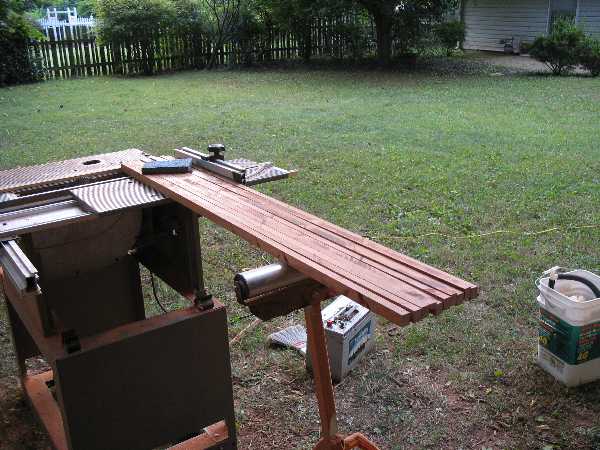
I ran all the strips in parallel for consistency. If the dados along each strip are even slightly off it will be difficult or impossible to assemble later.
Here I have run about half the dado cuts. The ends of the strips should continue to line up perfectly.
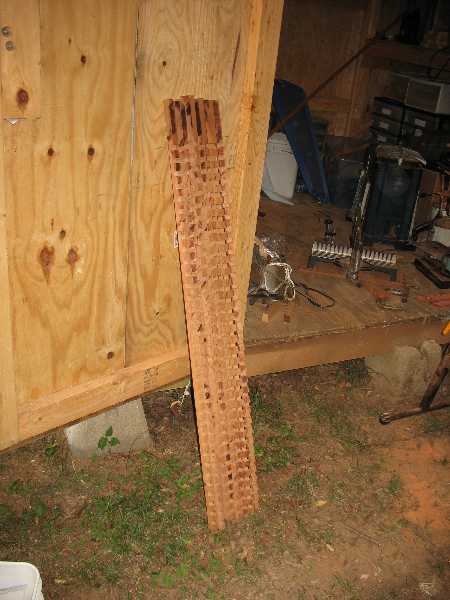
I left a short handle on the end of the strips because it gets too difficult to hold the strips together and line them up parallel.
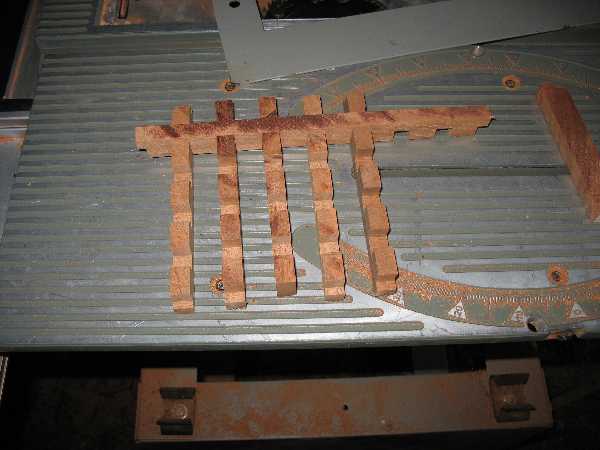
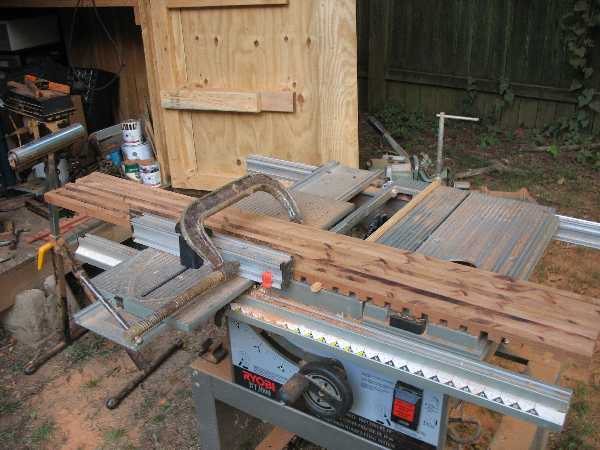
Here I'm assembling the pieces to make a grid. Even after all my effort I had some problems. I used sandpaper to ease problem spots.

The pieces are assembled. I later glued them up with West Epoxy.
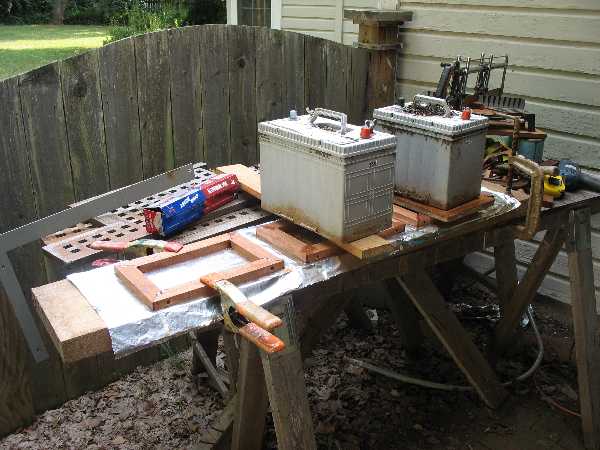
Here I make the frames. I cut mahogany into 7/8 x 1 1/2 inch strips. Then I miter cut the strips to make up 12 x 8 inch frames. I glued and screwed the corners. I then used clamps or heavy batteries to hold them down flat. If they end up too crooked I would have to start over.
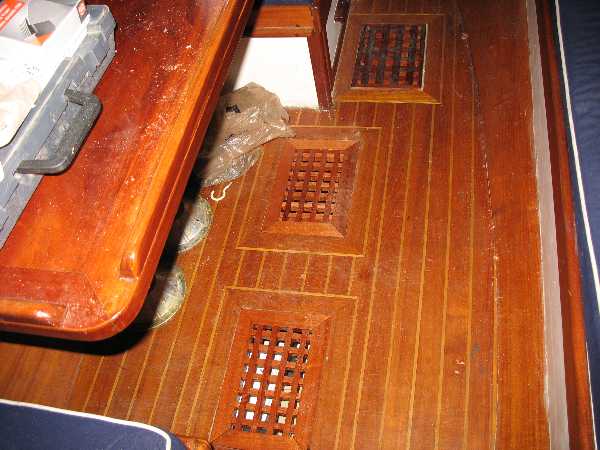
I wrapped up by I cutting the grids to fit exactly into the frames. After the glue set, I ran them through the surface planer to make them absolutely flat. I then coated them with some varnish. At the boat I planed the edges until they just fit snugly into the opening.