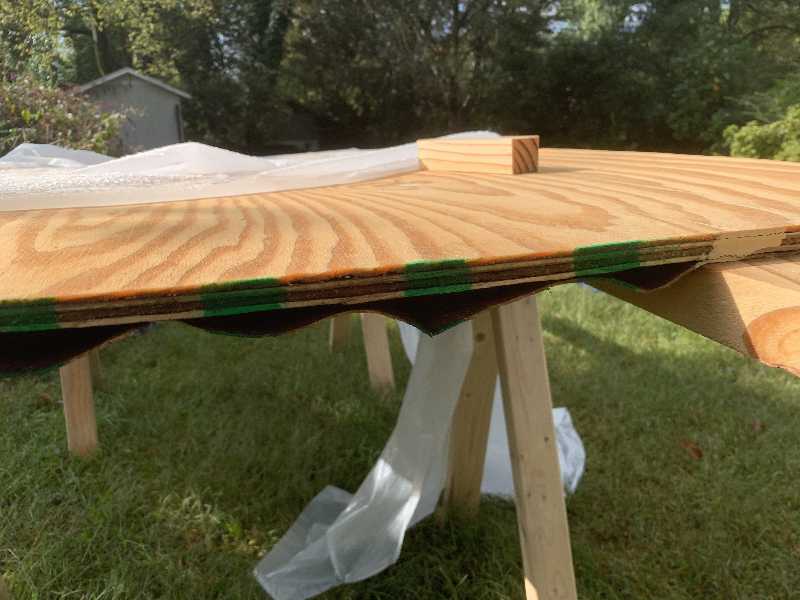
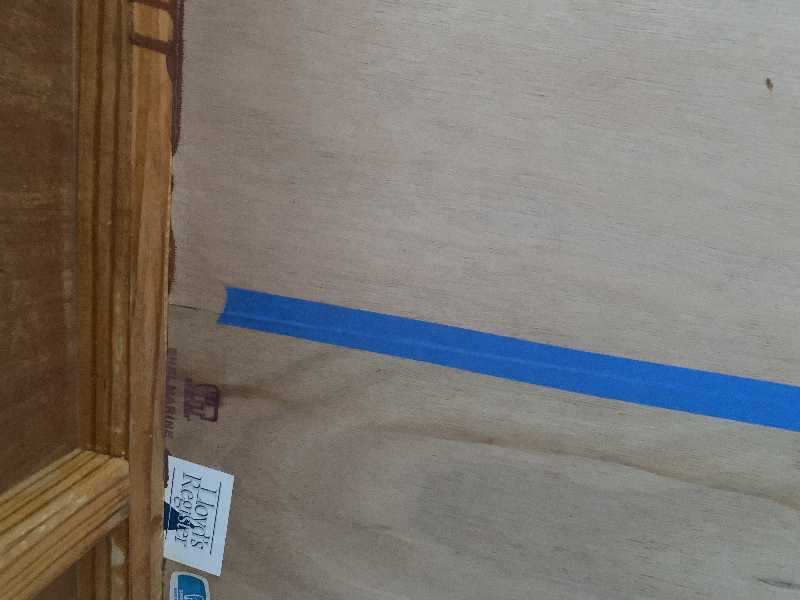
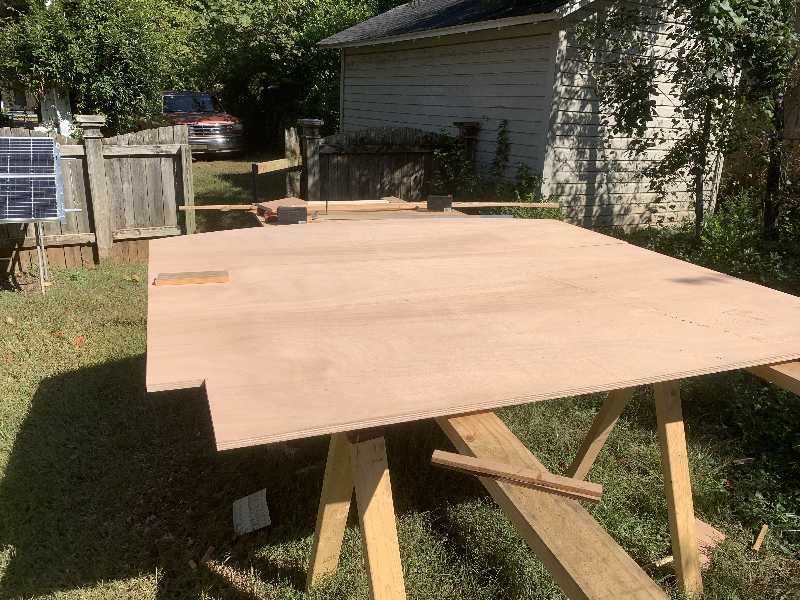
Pictured here is a sheet of 3/4" plywood that I got at the big box store. I don't recall if it is interior or exterior grade plywood. Here it has sat outside with maybe three periods of rain in the past month and it is already falling apart. This is a hige reason that I paid a bit more to get BS1088 marine grade occoume plywood. I am looking for strength and longevity in this build.
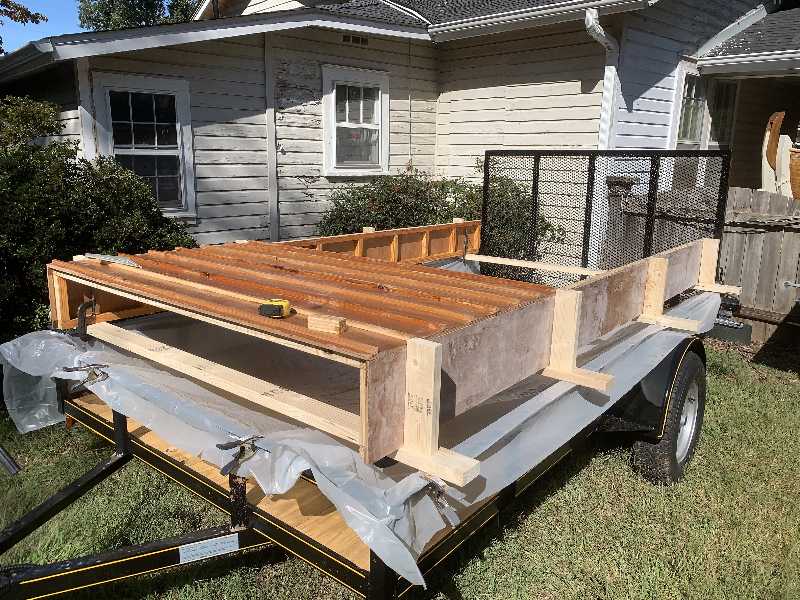
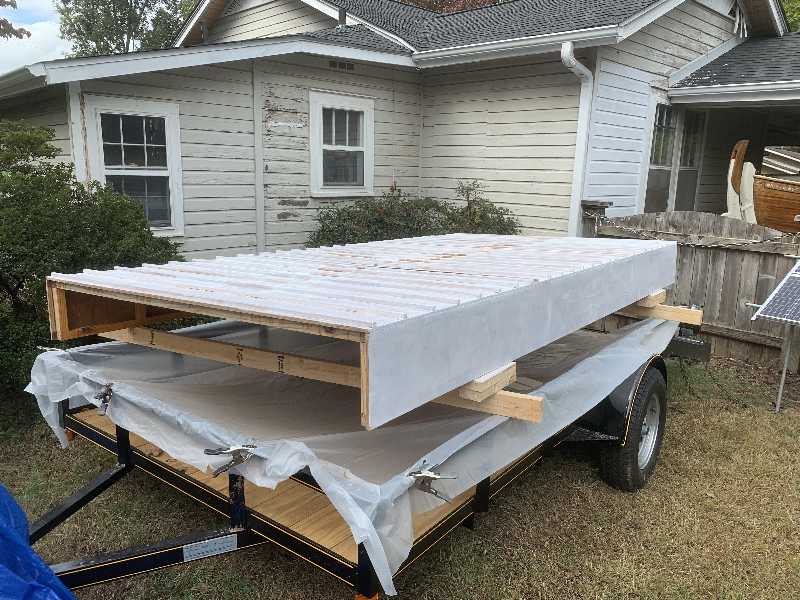
Here is a floor section assembly. There are three of these. The floor is 1/2 inch plywood resting on top of cedar strip sleepers. Everyything underneath is to be coated in epoxy. It's a given that when being towed, water will splash up from the road through the cracks in the planks. The cedar sleepers allow air to circulate and dry it out quickly. The epoxy will keep this water from soaking up through the floor.
It is important to get the two lower sides to be parallel. These jigs made of 2x4s help achieve that. The first floor assembly is attached.
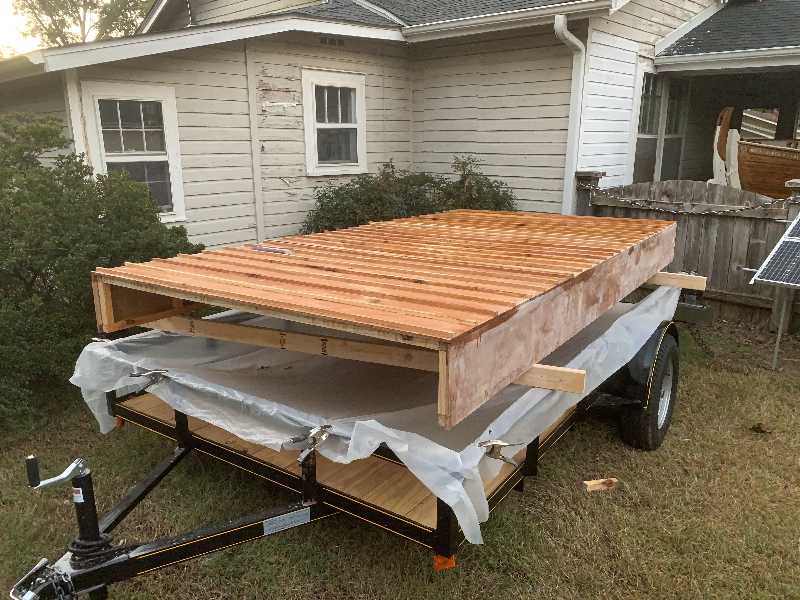
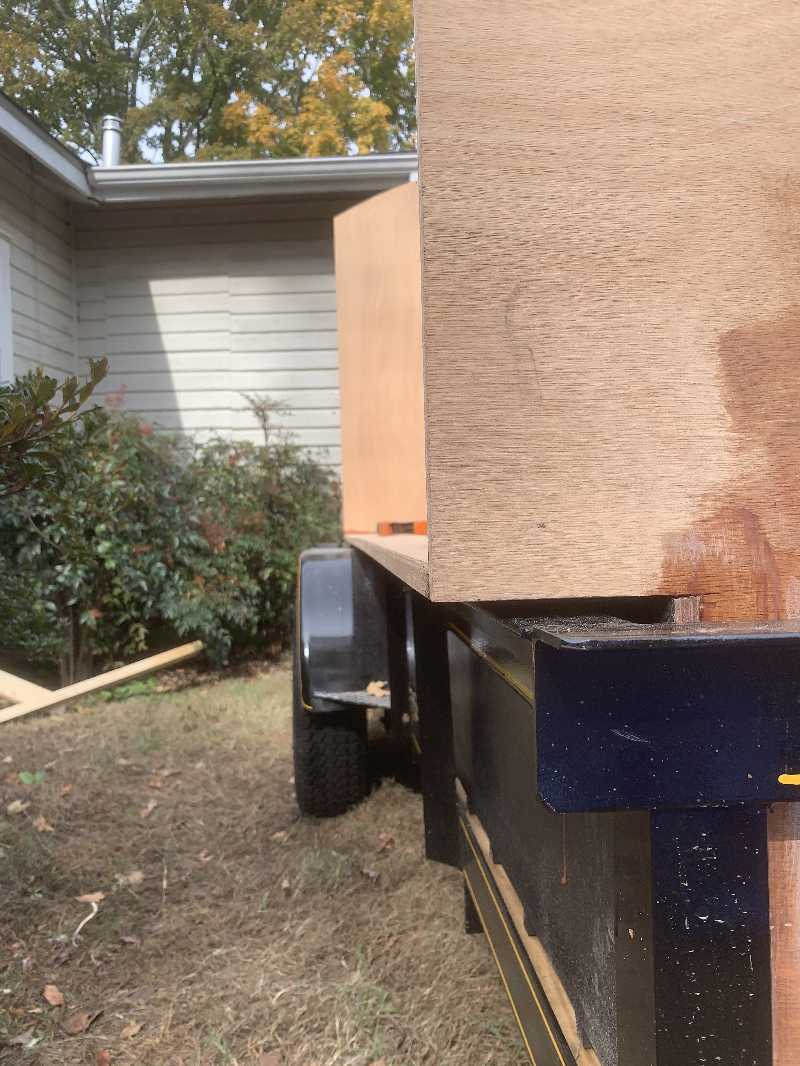
1908 Here the whole bottom is now assembled.
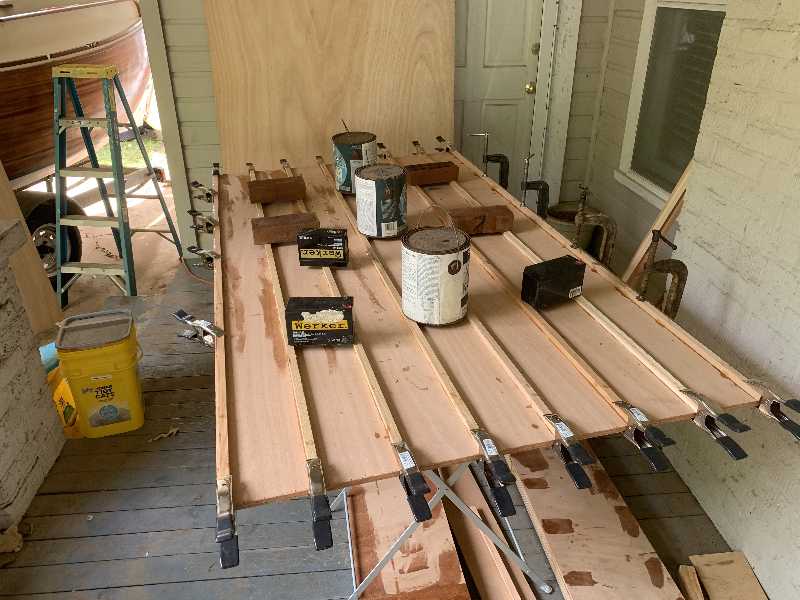
Joining two piees of plywood edge to edge with epoxy is a bit problematic because the plywood edge soaks up a lot of epoxy. I was able to line up the edges and keep them aligned due to friction between the two pieces. I then taped up the underside to keep epoxy from leaking out. Then I liberally applied epoxy to the top side so that it would drain into the slot and fill it up. This scheme mostly worked.
I put a coat of white exterior latex primer house paint on.
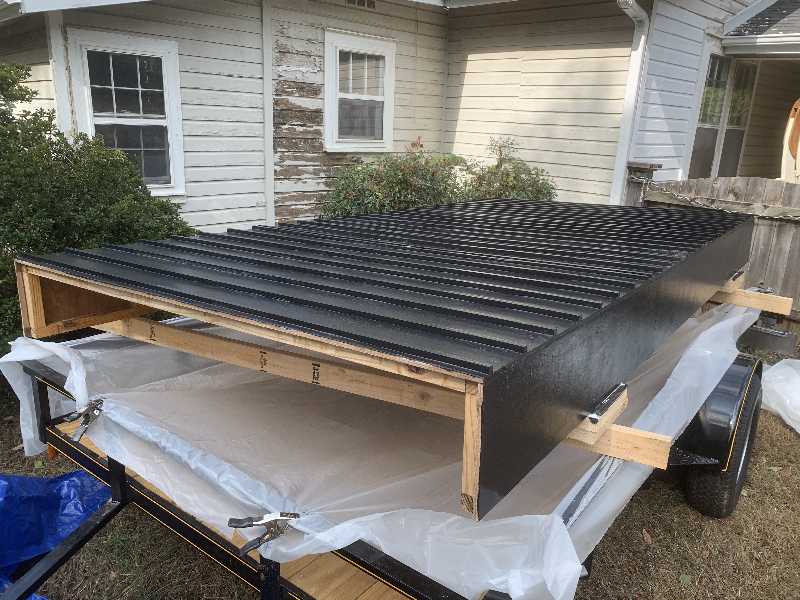
I then followed it up with two coats of black gloss exterior latex house paint. It came out a really dark gray and not as glossy as I'd like. But later near the finish I will put a third coat on.
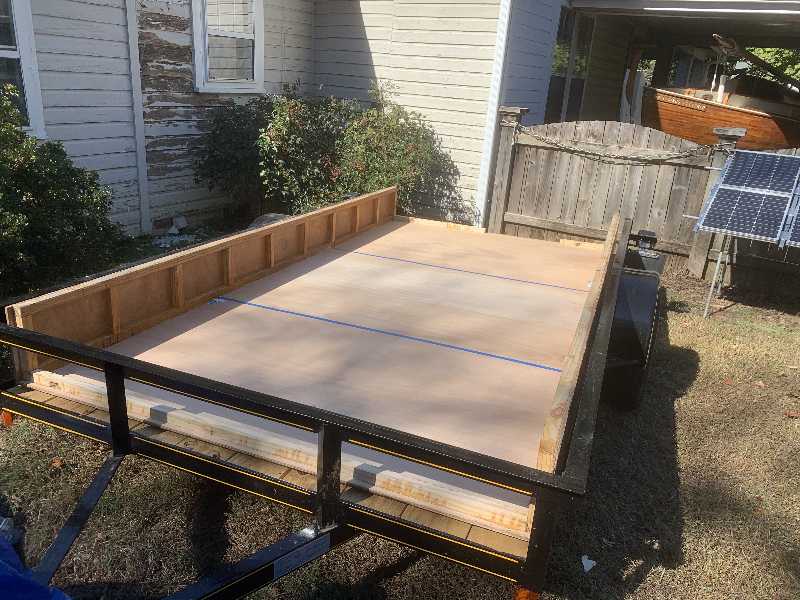
My next door neighbor helped me to flip the bottom over. Special thanks to Jeff for helping me out.
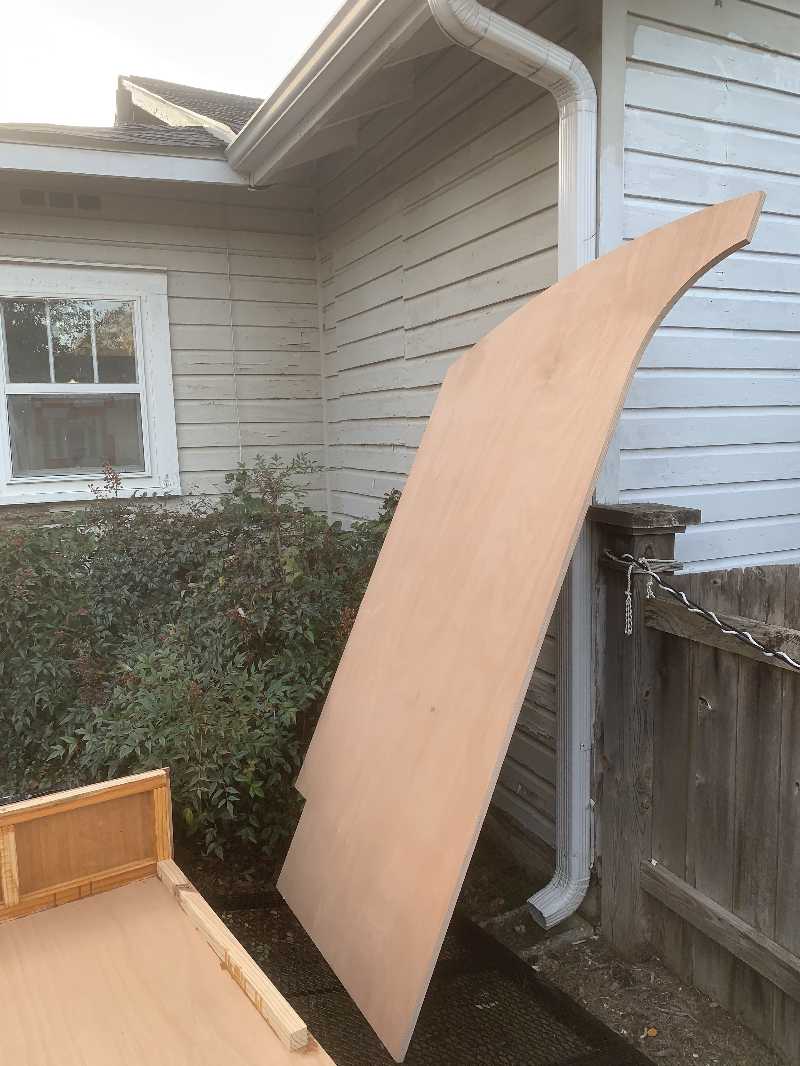
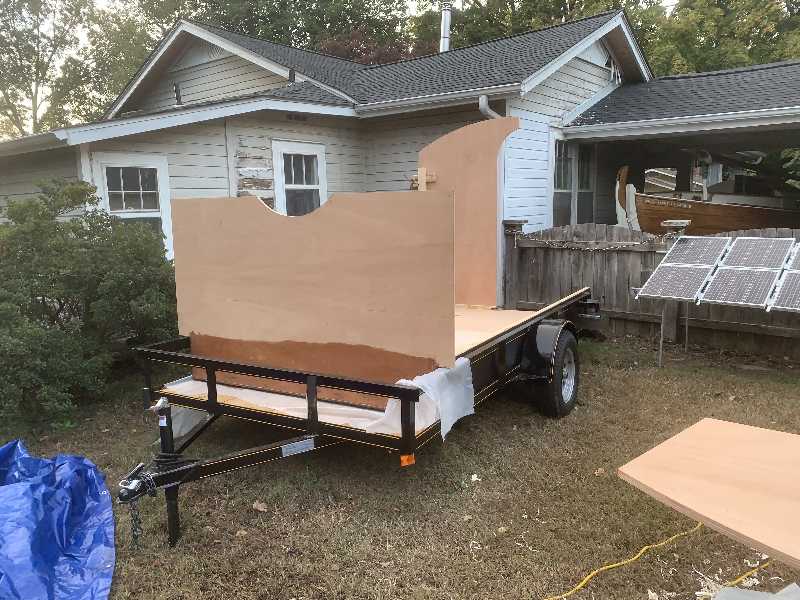
I cut the front and back out of 3/4 inch marine grade plywood. Here I am tracing the radius for the roof out. It will rise 1 foot over a chord of 7 feet.
Here the front is cut out. I cut the back out similarly.
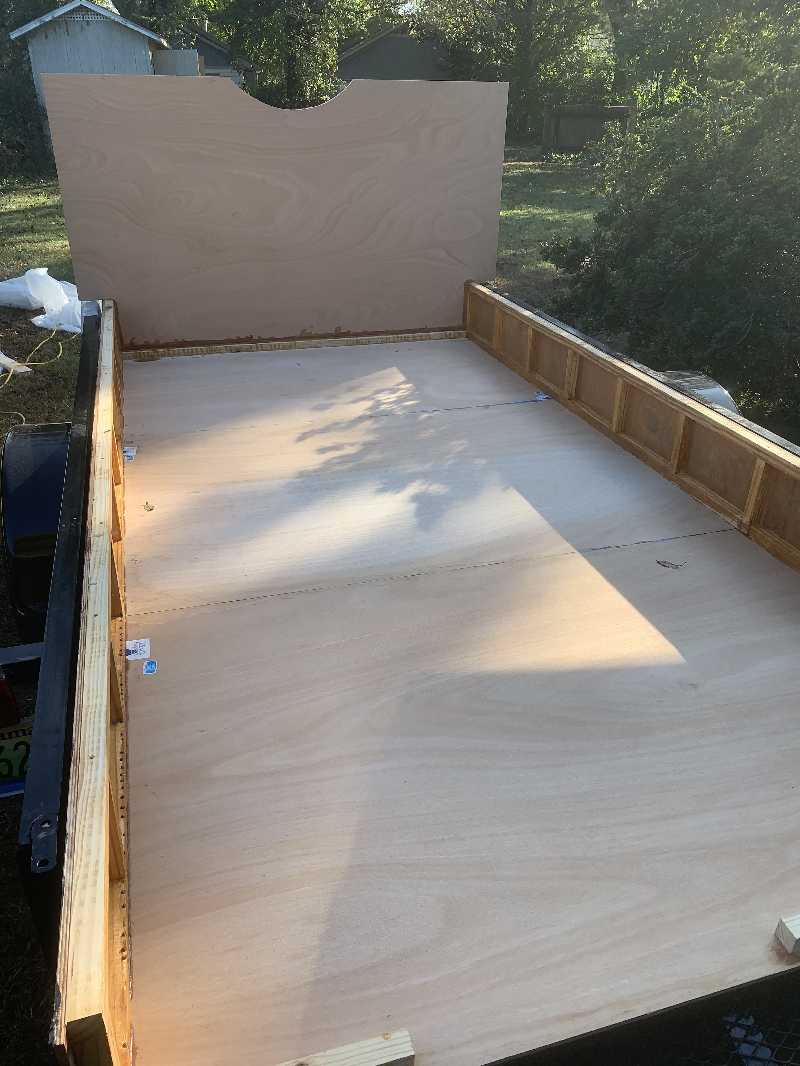
The bottom of the front section is now glued to the base. It will have a circular window 30 inches in diameter.
I cut the back section out of two vertical sheets of marine grade plywood. I did the back vertically so I could get the doorway out and have it still be two pieces.
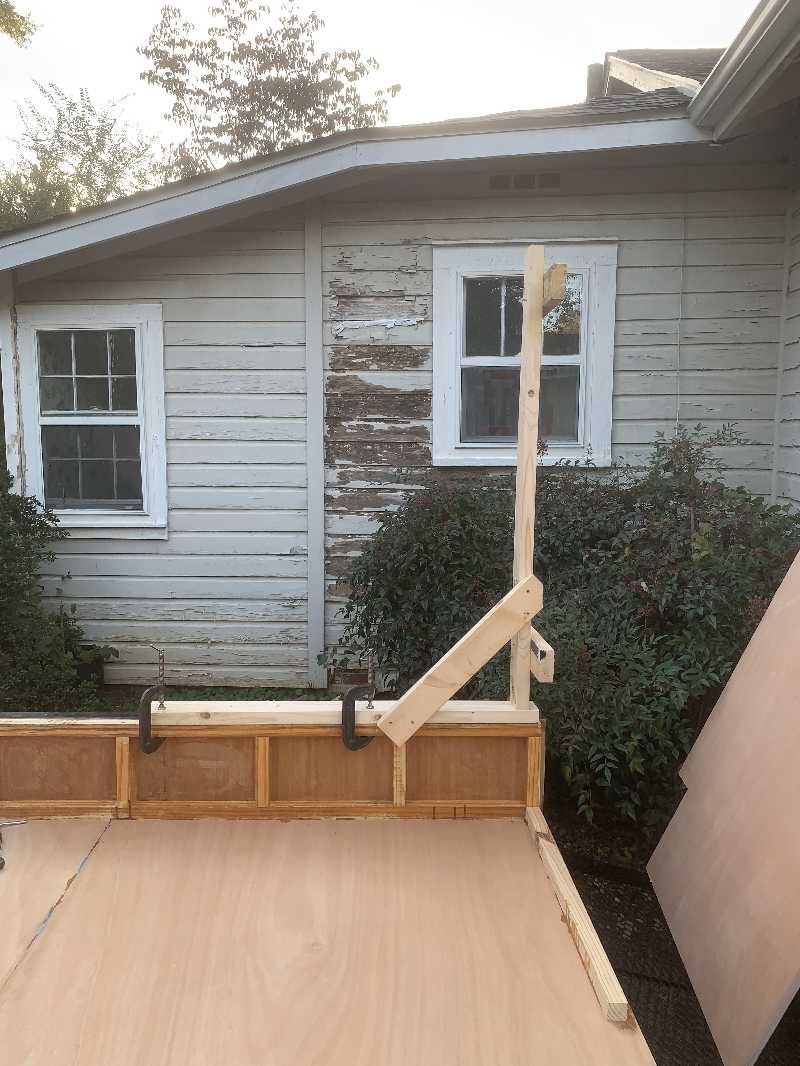
Before joining them I created a brace for making sure the back is perpendicular to the base. This will also hold it against wind until I get more of the structure built.
Here's another view with half the back attached.
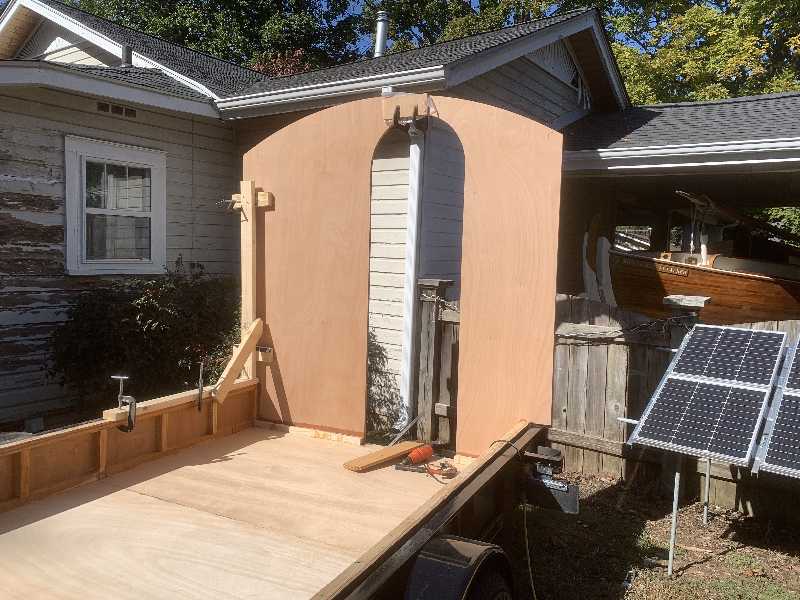
With the other half of the back attached the Gypsy wagon now has a doorway. I had to pry up the back floor to make the piece fit the way it should. This means that the bottom of the utility trailer may be uneven. I'll be investigating that and deciding how to fix it to give good support to the floor.

Now for the shelves. I constructed these of 3/4 inch plywood since they don't have to span a large distance.
Straight, flat and strong are the order of the day. I used mason line to establish the edge of the gypsy wagon and lined the shelf pieces to it.

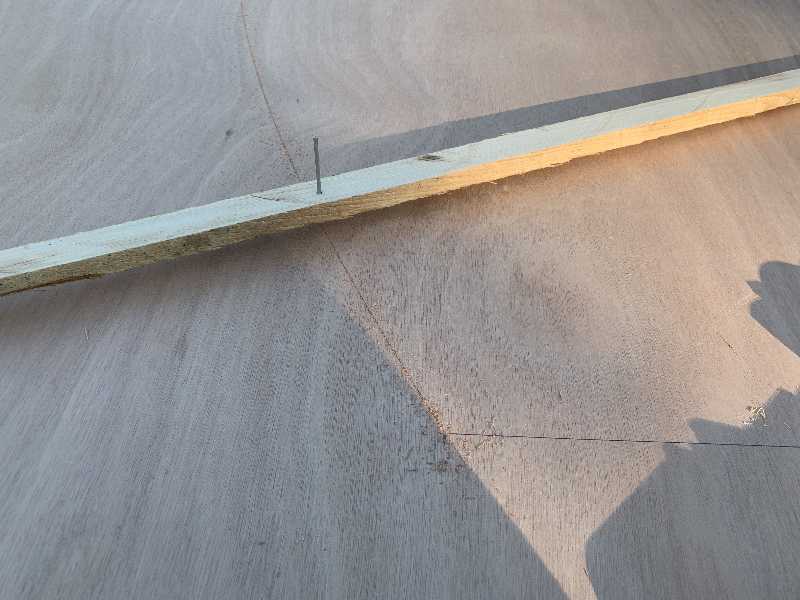
Next I started the bottom of the side wall frames. These are 1 1/2 inch square southern yellow pine. I cut these out of a 12 foot 2x10 and set them aside for a few days. Several of these developed twists up to 30 degrees over the length. Even with multiple clamps I could not persuade it to lay flat. I rejected two pieces before I found one that I could work with.
Currently I have one of the pieces clamped up with a piece going sideways so that gravity will apply torque to undo the twist. I will see how that goes.
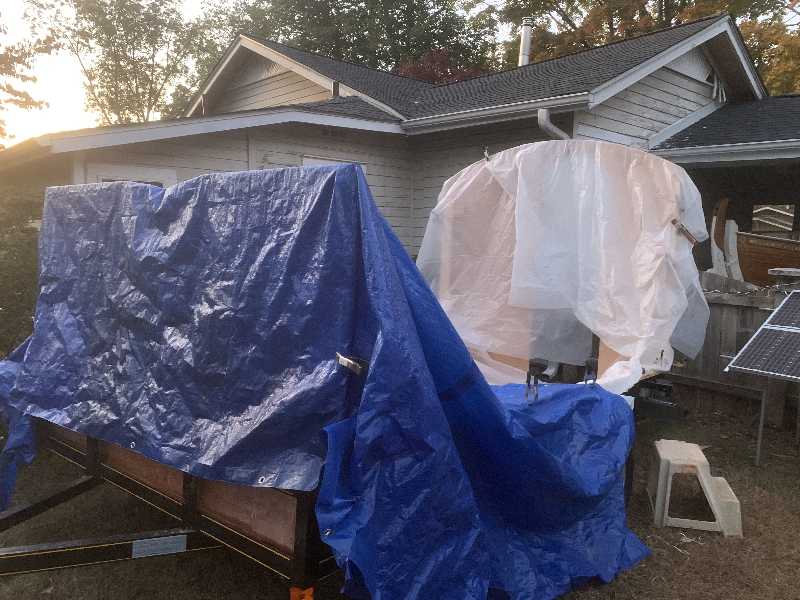
Here I have tarped things up to prepare for some rain in the forecast.