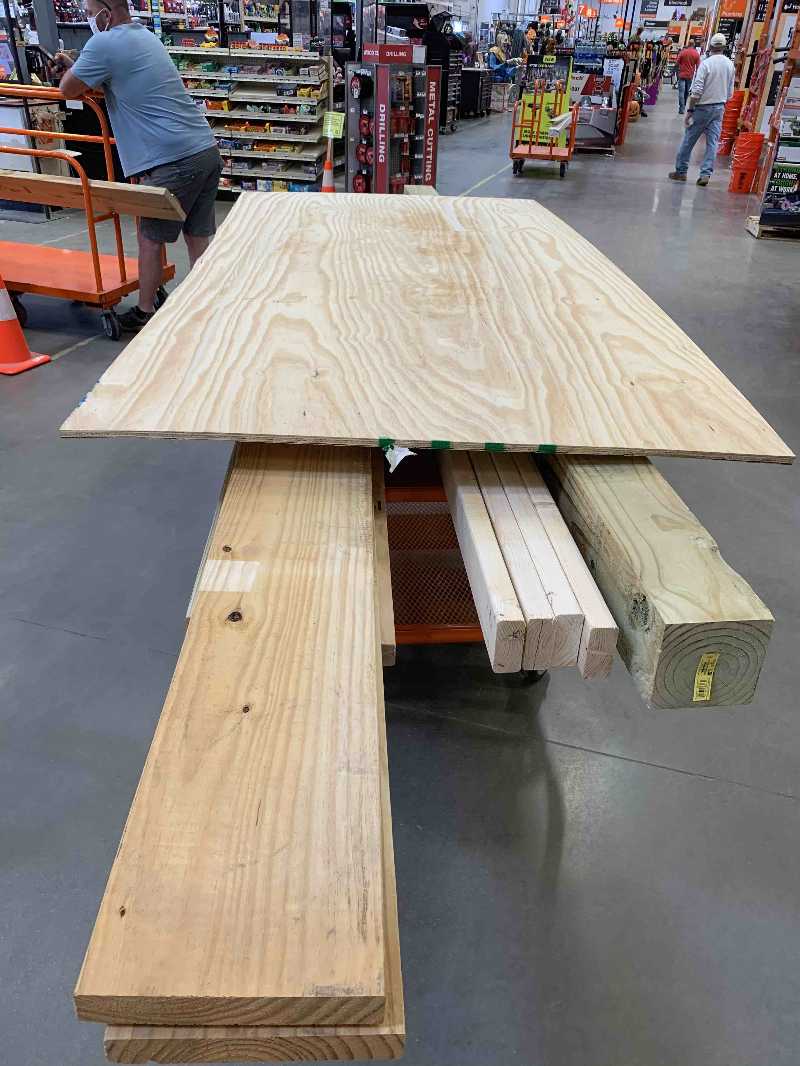
I got a big batch of wood from the local big box store. The two 2x10 SYP boards are for the Gypsy Wagon. The top is a sheet of plywood for a work table. There are 2x4s for new saw horses. The 6x6 is for new fence posts for a fence reconstruction project that I am working in tandem. It is the story of my life to have many projects going at once.
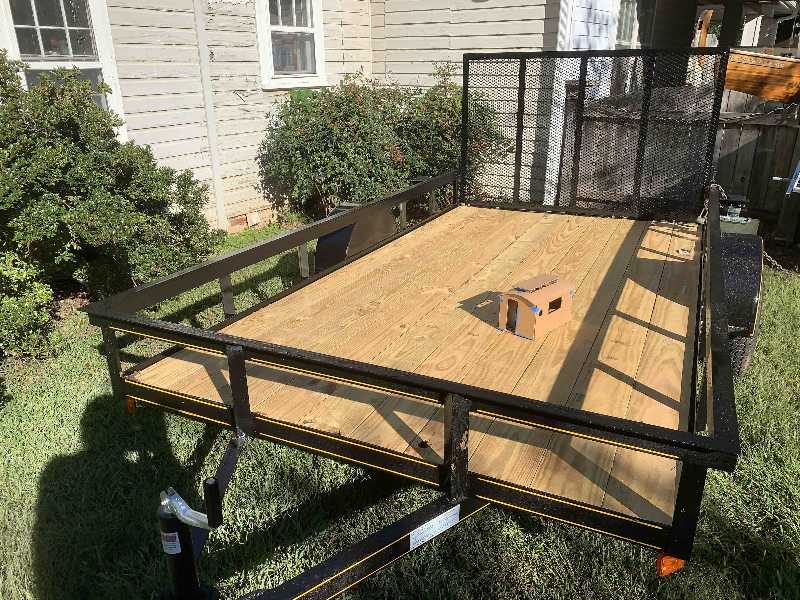
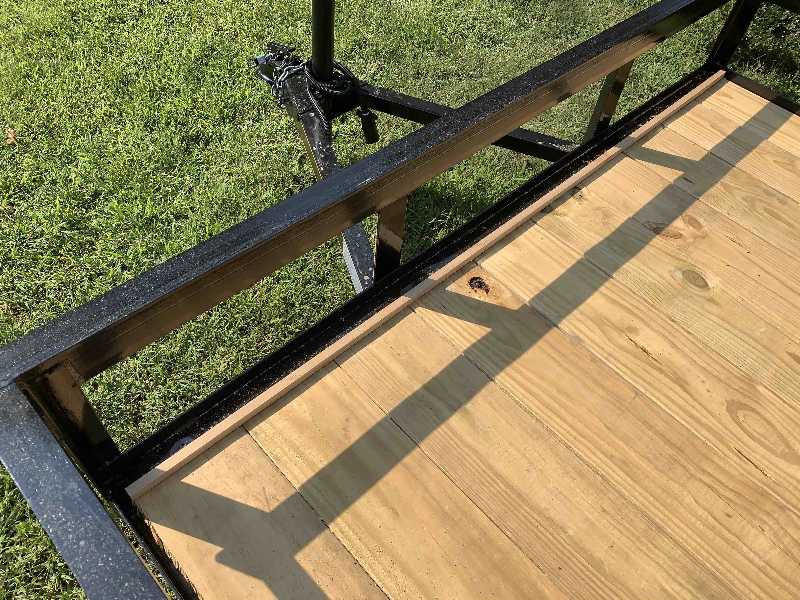
I just bought this utility trailer from a local outfit. It is 6'4" x 12' which will work well with a 7' x 12' gypsy wagon. I added electric brakes to it for improved safety.
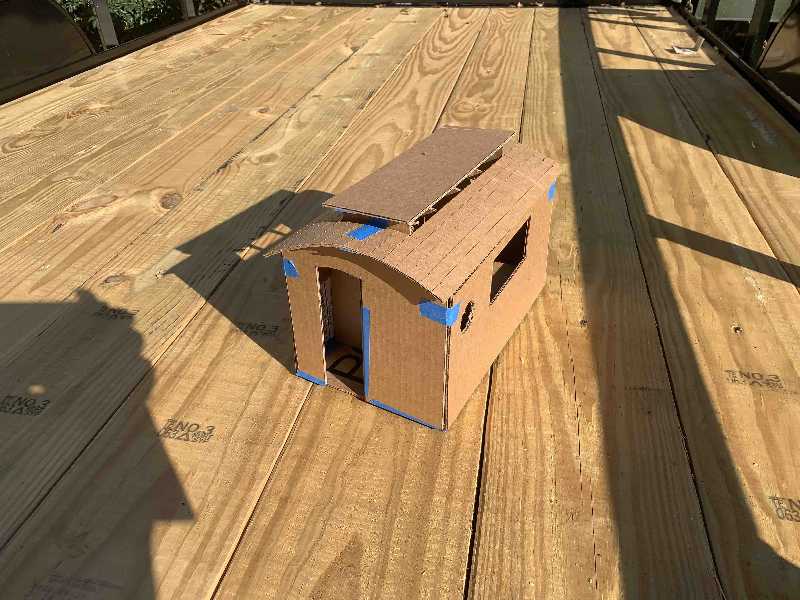
For a big project like this I decided it was best to first build a model to get a better feel for how things will work out. The design will not be perfect by any stretch of the imagination but this gave me better ideas for what will work and what wont.
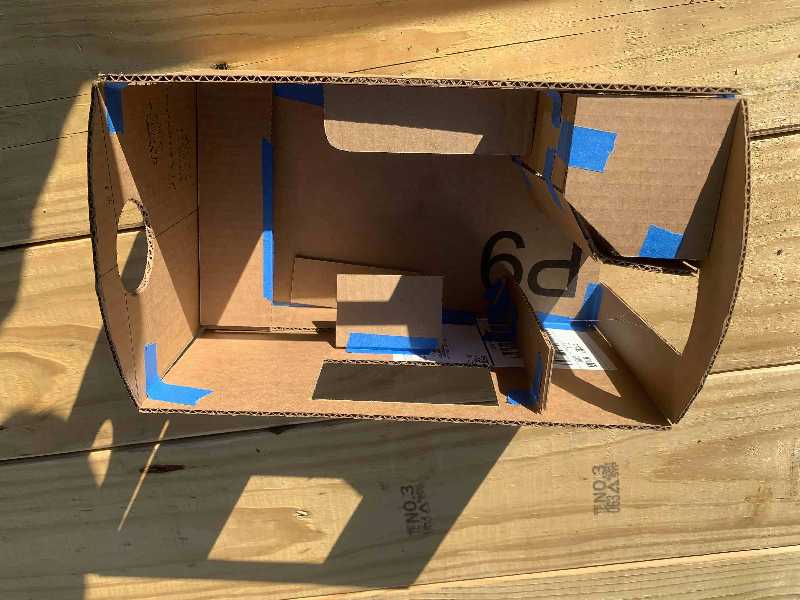
Vardos or gypsy wagons generally have a bed in front. Beyond that the layout varies. Mine will have a kitchen on the right hand side and some seating on the left. In the back will be a small bathroom with a cassette head and a small storage closet. It isn't a whole lot but remember that this is not intended to be a full time live-in. Everything outside will be my living room.
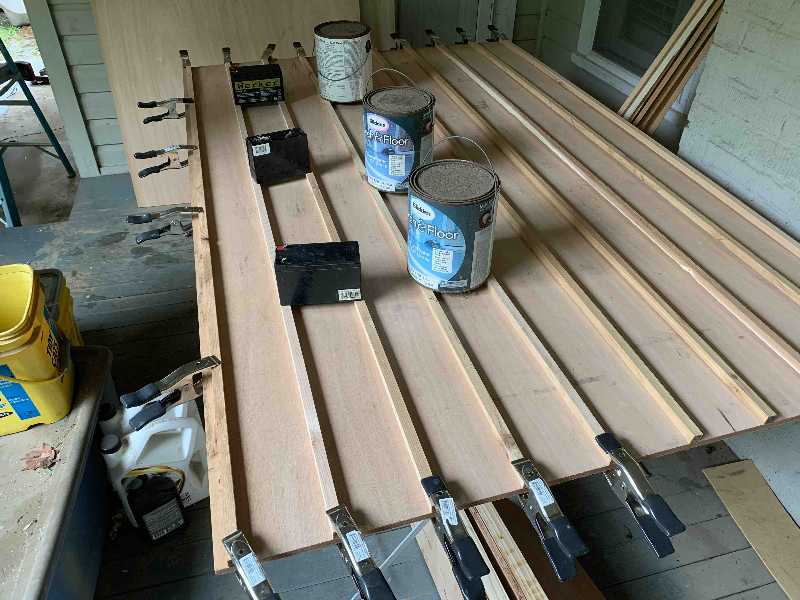
This cedar strip is the very first piece cut for the project.
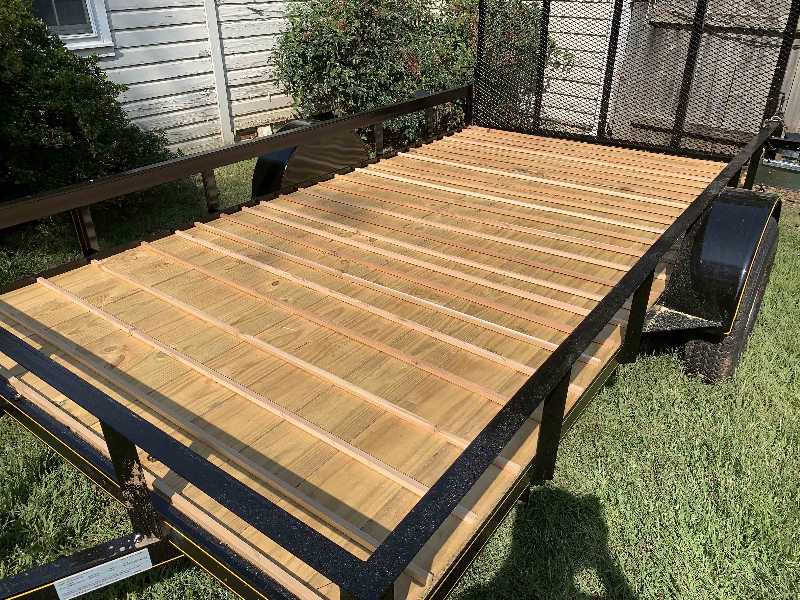
These cedar strips are 1/2" x 1/2". They are sleepers spaced about 5" apart. These will be glued to 1/2" marine grade plywood. The trailer comes with a wooden bed. As I tow the gypsy wagon down a wet road, water is liable to get sprayed up through the boards. The 1/2" gap formed by the sleepers will allow air to circulate and dry out any water left standing. Also the marine grade plywood will be coated with epoxy and painted with marine grade polyurethane paint to shield against water intrusion. This should prevent any rot from occurring.

This plywood is actually 125cm which gives me about 1 1/4" bonus to be factored into my cut plans.
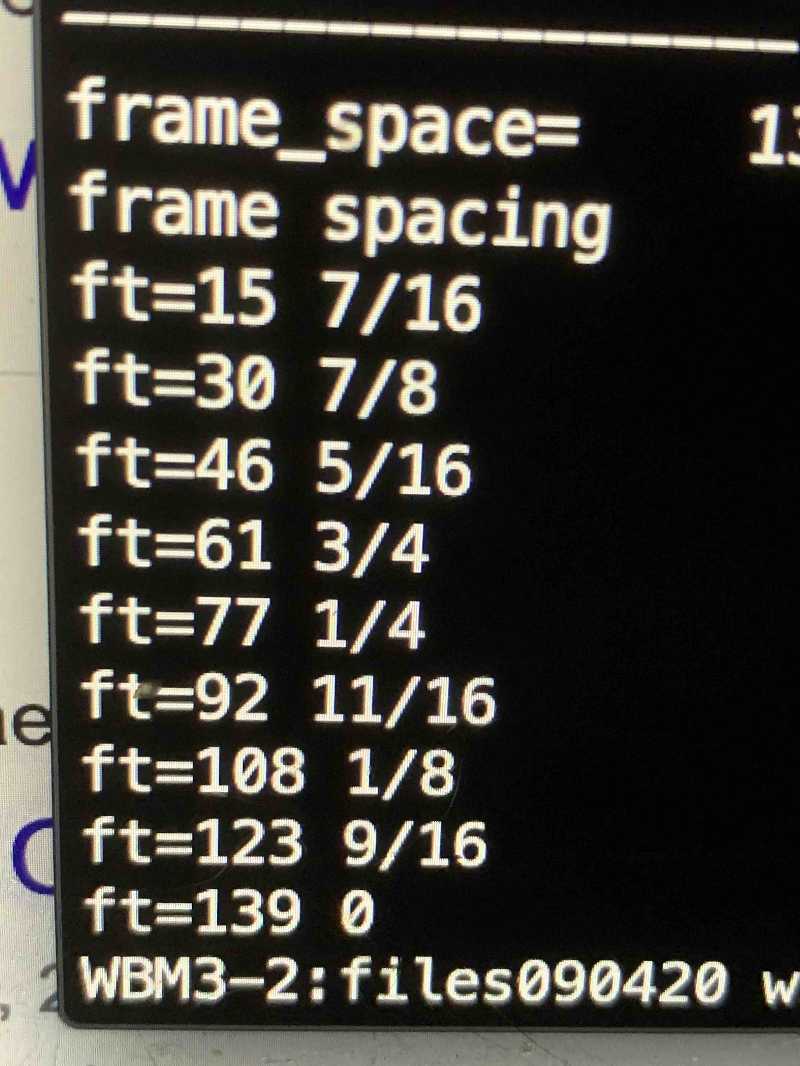
I wrote a little program to calculate the spaces for the sleepers so that only a small amount of overhang exists at plywood joints but the sleepers are evenly spaced. It definitely speeds marking the wood up when the numbers are handy for me to use.
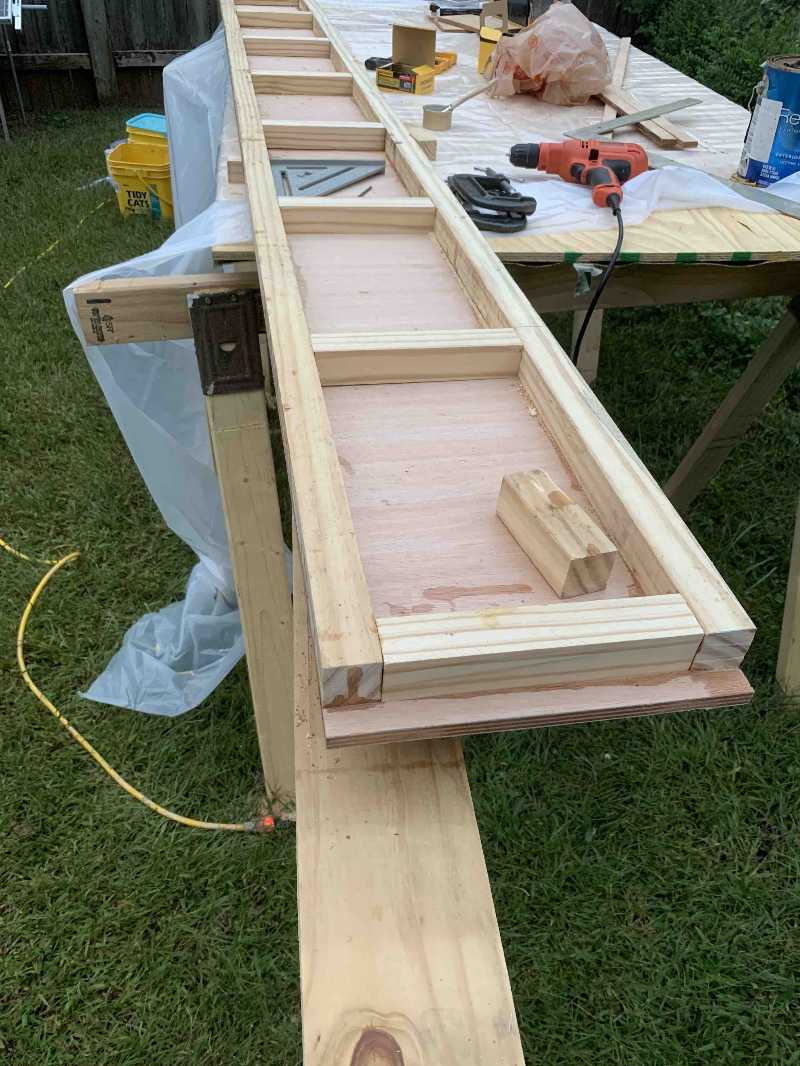
Here is a nearly finished lower side. This consists of 1/2" marine grade plywood on a framework made of 1 1/2" x 1 1/2" SYP. This is fairly durable wood that takes epoxy well and is less expensive than a lot of other woods.
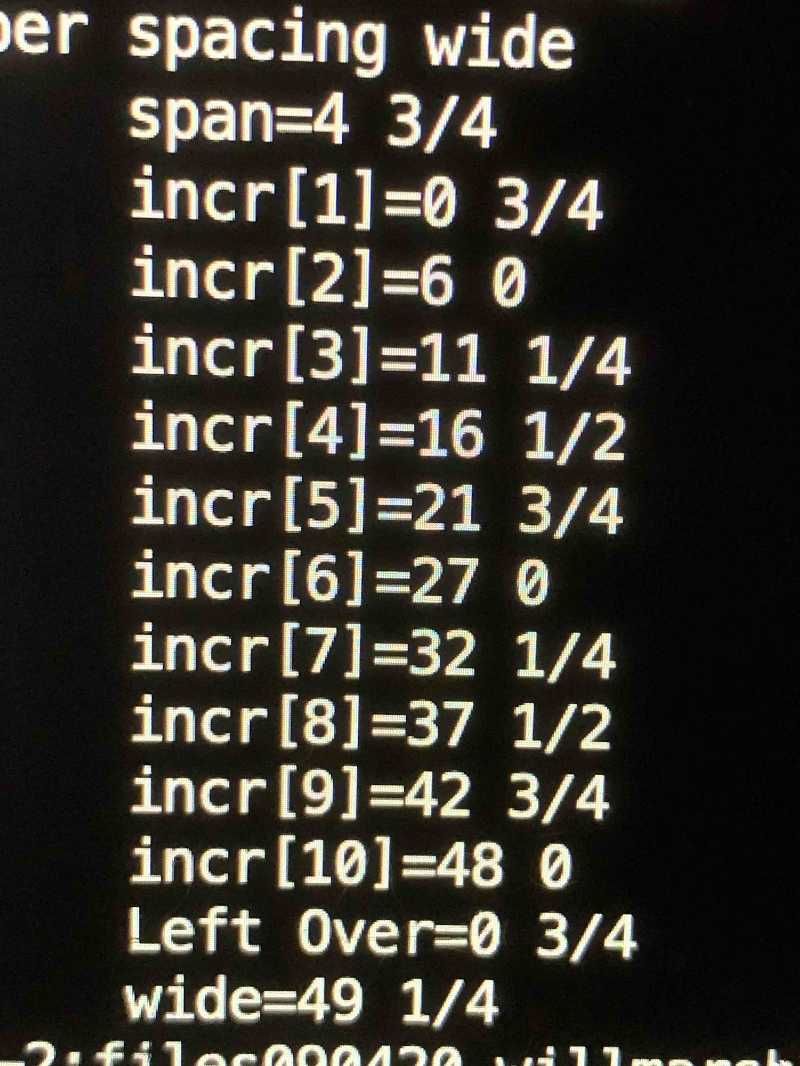
Here are offsets for the sleepers on the wide pieces. I used three sheets of 4'x8' plywood. Because of the bonus above I had to cut a bit off of one sheet to make it narrow. Hence, the two sets of offsets for slepper placement.
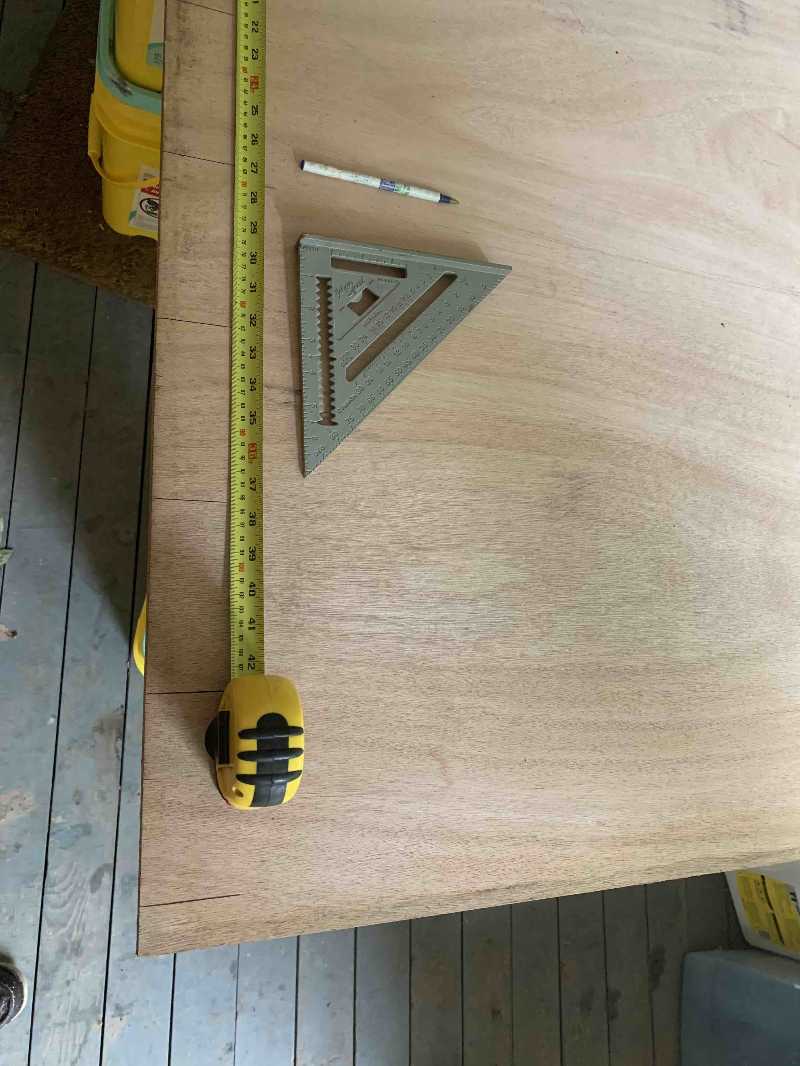
Here I am marking off the offsets for the sleepers.
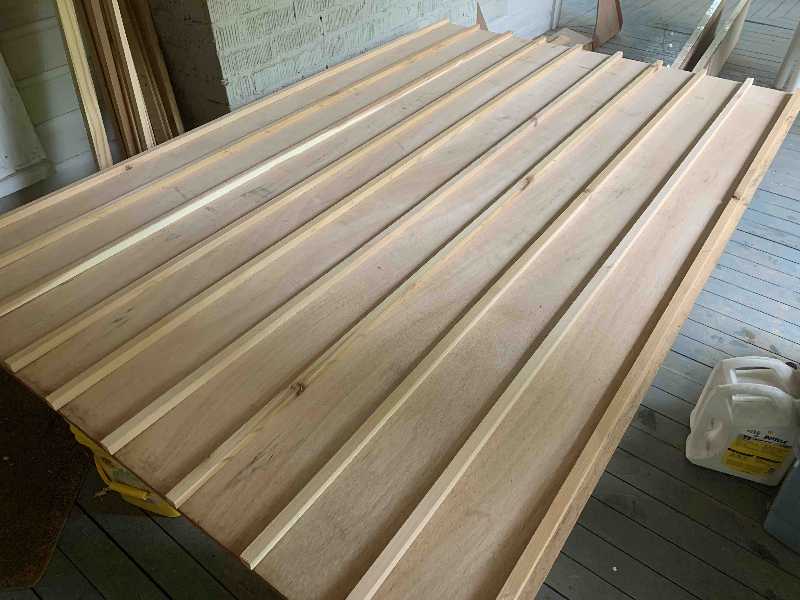
The sleepers in place.
I had to move construction to the front porch due to rain. This is currently the only way I can keep things dry. I have just about decided to put up my 10'x20' temporary tarp shed as a work area.
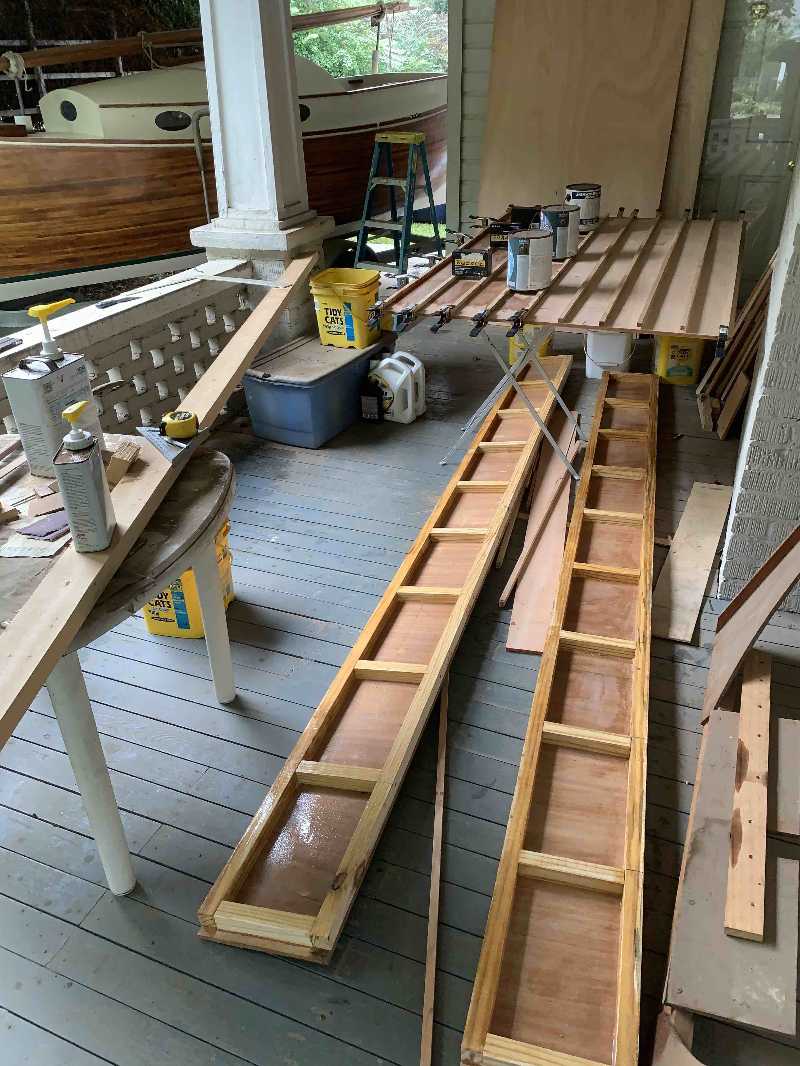
I am coating everything with epoxy inside and out to limit possible water intrusion.