Improvements, fixes, and additions
After sailing on Tims Ford Lake I recognized that there were a lot of things that needed to be completed, fixed, or added to make for practical sailing. This page illustrates these steps.
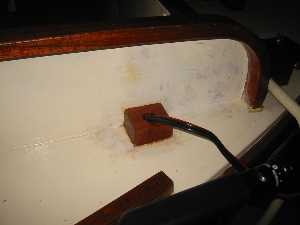
This is a way to cleat the main and jibsheets off. This is my interpretation of what the plans show.
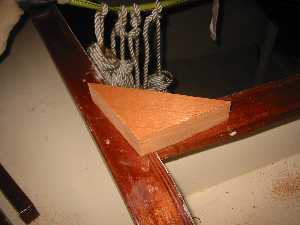
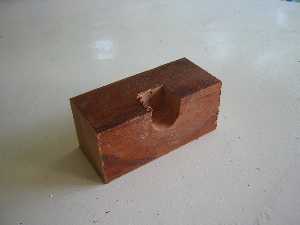
I cut out the blank to form the mount.
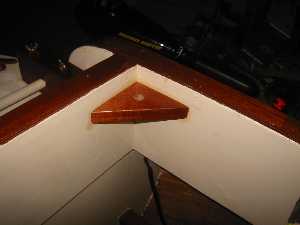
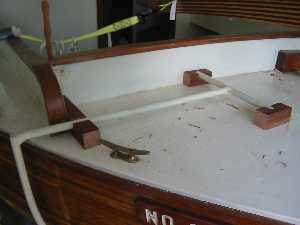
Here is the finished cleat block installed in the cockpit.
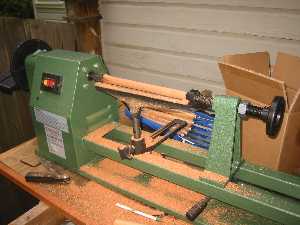
Pins of the sort that I wanted cost $30 or $40 from various places I was able to find online. I decided for the amount of money I spent on pins I would instead use to purchase a wood turning lathe. Here I am rounding a piece of wood before cutting the shape of the pin.
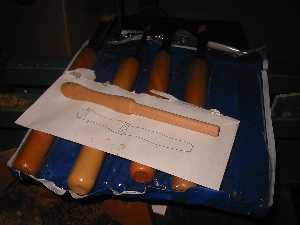
Here is a finished pin next to the drawing.
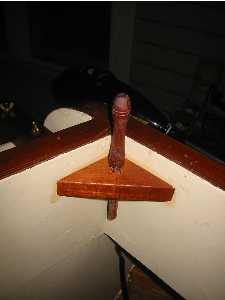
The pin sticks in the hole.
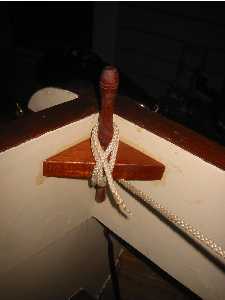
I wrap a sheet around as shown using a cleat not. To release very quickly, I simply pull the pin.
I spent some time looking into what motor I wanted and how I was going to mount it. Please note that this is not on the Elver plans. It is my own design.
I looked at gas outboards. The 2hp model that someone I know uses for Elver cost around $800. The 4hp that a salesman recommended to me cost around $1400. I then considered trolling motors. I read various anecdotes of people with similar sized boats to Elver who used trolling motors and what they thought of them. I settled on a 55 lb thrust model from Minn Kota. They are one of the premier brands. This works witn a 12v battery.

Here I've welded up a mount from scrap steel I had on hand. I sanded it with a grinder, then primed it with Zinga, and finished it with rustoleum to match the off white color of the boat.
Here is one example of a cleat to hold the motor mount.
Here is how the motor mount fits in its cleats.
I've run the wires of the trolling motor neatly inside the cockpit using a opening that is 3/4" in diameter. This is just big enough to fit the wires in. I trimmed it with a piece of mahogany to minimize leakage from casual splashes of green water. Also it keeps the wires from flopping around and getting caught on things.
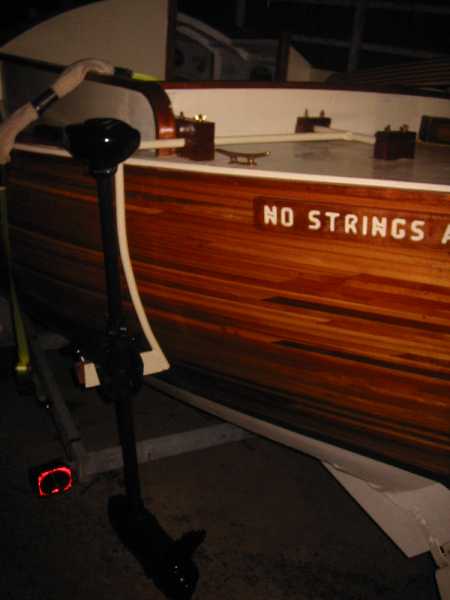
Here's the complete setup. I fastened down the motor mount using the same method as for the boomkin - threaded bronze dowels and wingnuts holding down blocks. The trolling motor has a transom clamp. I improvised a piece of wood as the mount itself is 1/4" thick but the trolling motor won't clamp on anything less than 7/8" thick.
I constructed a box for holding the battery. I wanted a secure location so that the battery did not flop around during sailing. This is also my own design and not in the plans.
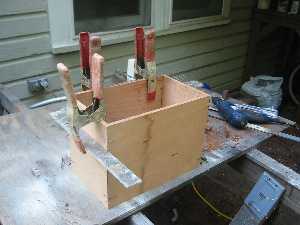
I cut some plywood and used stitch and glue to construct it.
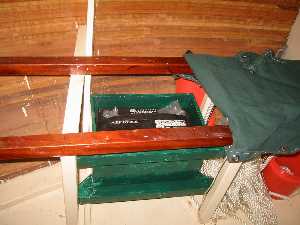
Here it is finished and installed. I put some mount points on the side of the box to hold it off the bottom. Anywhere something sits on the bottom its a place for water to accumulate and cause rot. Also a battery box will contain any acid if the battery decides to spill.
The plans call for a brail line in the mainsail. The sailrite instructions don't mention it. So I didn't get around to it right away. I installed a grommet exactly as the plans showed, then ran a line through and around as shown. It works great.
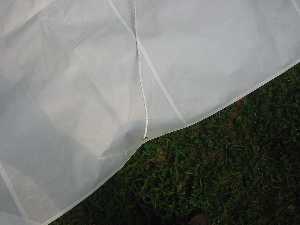
Here's the line running through the grommet as shown.
Here the mainsail is brailed. To open, I uncleat the brail line and let it hang loose as I pull the mainsheet. I definitely need to add the optional plastic "o" and small string to ease pulling out the brail.