The case for a forward hatch
After a discussion on ElverBuilders about a forward hatch I started thinking about what a good idea that actually is. It provides the means for fresh air to circulate when at anchor at night. It also provides a convenient place to stow the anchor. Plus it allows access to the bow from a safer perch inside the boat for adjusting sails.
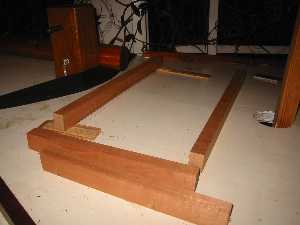
I started with a design size of 10" x 18" which was just big enough for me to pass through. I selected pieces of mahogany and cut them out to just oversize so I can miter them down.

I glue the base frame up. It's clamped to a square to insure it is square.
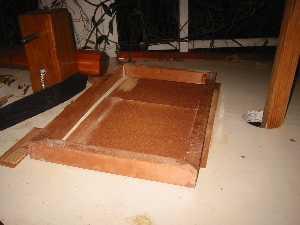
I placed the frame on the deck and marked it to the shape of the deck since it has a slight crown. I trimmed it to rough shape using a japanese saw. I then glued sandpaper to the deck and rubbed the frame over the it until it exactly matched the shape of the deck.

I drilled holes to mark the exact position of the hatch. I then cut holes with a holesaw in rough position. Next, I trimmed up to the line in places. I worked to gradually enlarge the hole to the exact shape of the frame.
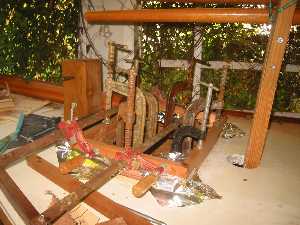
I use glue, screws and a lot of clamps to secure the frame permanently in place.
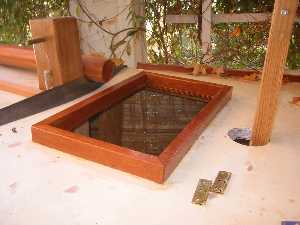
The hatch base is finished. I'm using brass hinges. The marine grade hinges that I found were too large for the thickness of the base and frame.
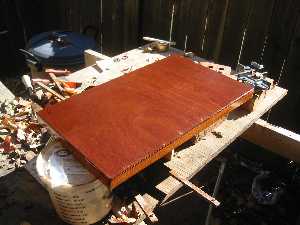
I built the top of the hatch with another frame and two layers of 1/8" sapele marine grade plywood. I styled this in the same manner as the main sliding hatch. Also I oriented the grain to run fore and aft on the top of the hatch.
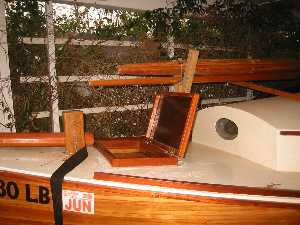
The hatch is complete and ready for the next sail.