Cedar Key Small Boat Gathering - 2013
April 2013
I have read about the Cedar Key Messabout for several years and it seemed appealing. I've been to several different woodenboat shows in the South e.g. Madisonville and Biloxi but this seemed different. This year things lined up and I made my decision to go. These three pages talk about the preparation and the trip itself.
Getting the boat ready
The boat had sat unused in the carport for a few years for a variety of reasons. At one point last year I read in the paper about someone asking if there was an ordinance in Huntsville against people keeping boats in their yard. They said there were boats that hadn't moved for years. There was no direct reference to mine but I was wondering...
To wit: blog.al.com - questions about boats
I have read about Cedar Key for several years. This year I made a determination that I was going to find a way to go and take "No Strings Attached" no matter what.
First I had to get the boat ready. I'm really glad I started a month before because there was more to do than I first envisioned. First the rims on the trailer were rusting to the point that they were questionable. Also the tires were almost 10 years old. It was a no brainer to decide that the time was ripe to replace the tires and rims. I went to The Boat House in Athens and ordered new rims with tires mounted on them. They arrived and two days later I went back there to pick them up.
Next on the list were the trailer lights. I had put LED lights on several years ago because they were touted as lasting 100,000 hours. Did they work? Nnnnnooooo. I futzed with them a bit without success. Next trip to Walmart to get a new light kit. These were also LED. They are an improvement over the incandescent variety and a bit more expensive but they do not last the 100,000 hours commonly touted for LEDs. Expect these to last 4-5 years. I installed the rear lights. Then a trip to Madison RV to replace the defective truck connector.
Meanwhile I had to order a new safety flare kit. The existing one was expired and smelled like cat urine. Note: I have found stray cats lounging in the boat on occasion. The flare kit is required safety equipment for sailing in the ocean. I ordered a new one at a major chandlery chain. During the ordering I fat fingered the billing address so that the country was "Afghanistan" instead of United States. I did not catch this until the next day. I picked up the phone and called to correct it. I checked my email account for an email from the chandler saying that they shipped the items. After a few days when it did not appear I called again to check the status. They had it on what they called "international hold". But they couldn't explain what that meant. Then a couple of days later I still didn't see the email that it shipped. This order had clearly strayed off the normal process of order, ship, receive. I saw a looming risk of it not arroving in time. I faced the prospect of a detour to Mobile or nearby to purchase a flare kit. This would add a day to the trip.
So I called back and raised a bit of a stink. I indicated that I was frustrated with the way this was going. I also explained that normally they provide good service and that this was not personally directed to the person I was speaking to. Next day the shipping email appeared. Most importantly a few days later the safety flares showed up on my doorstep. Sometimes things stall and need a kick to get going again.
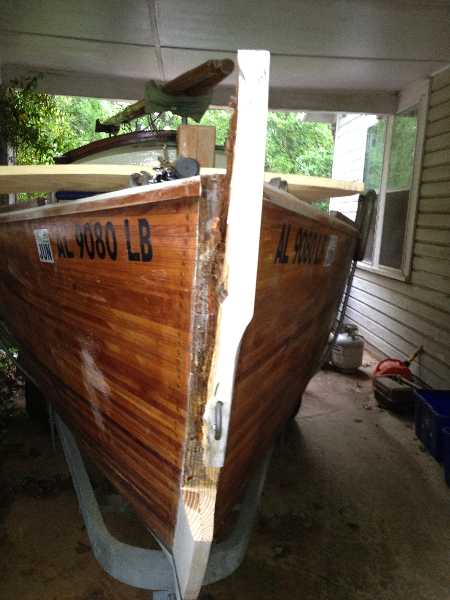
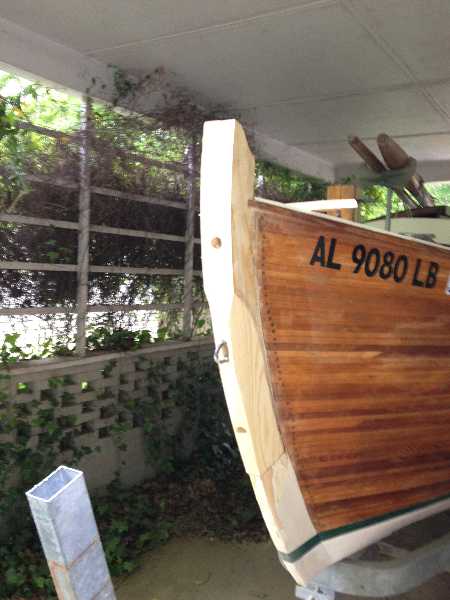
With the trailer ready I turned to the boat. The plan was to clean, sand, varnish and paint. I got her cleaned up quickly since I had done that a year ago. While sanding I noticed paint lifting up on the stem. I chipped it off and found rotten wood. I started digging. I kept digging. The wood cut like warm butter. The next several pictures show the extent of rot.
Note: this is basically what I posted on Facebook.
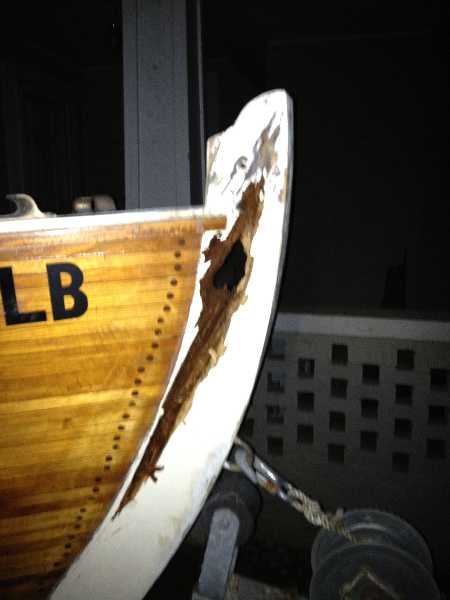
It's frustrating to find this but I have to fix it before sailing.
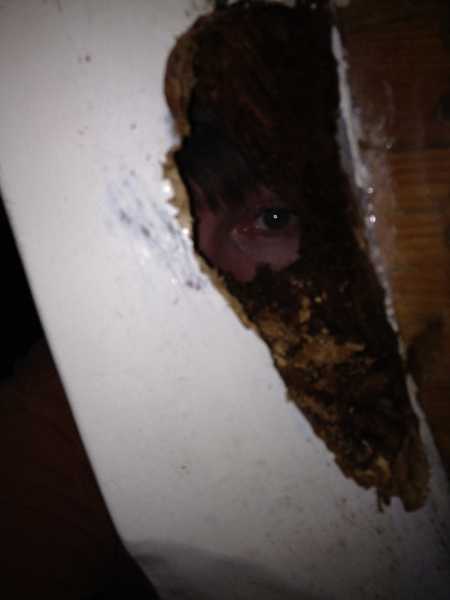
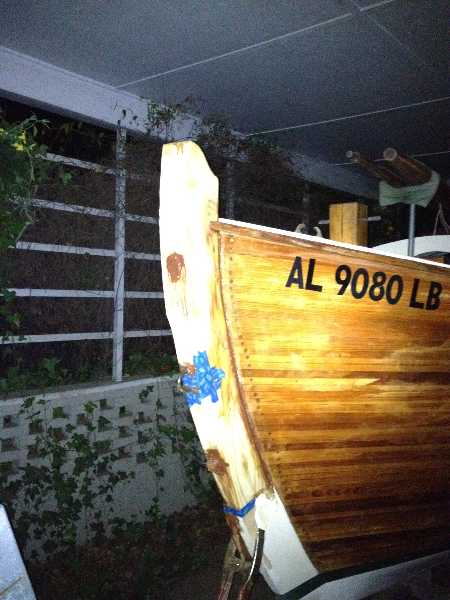
I did this cut to see how far the rot really went.
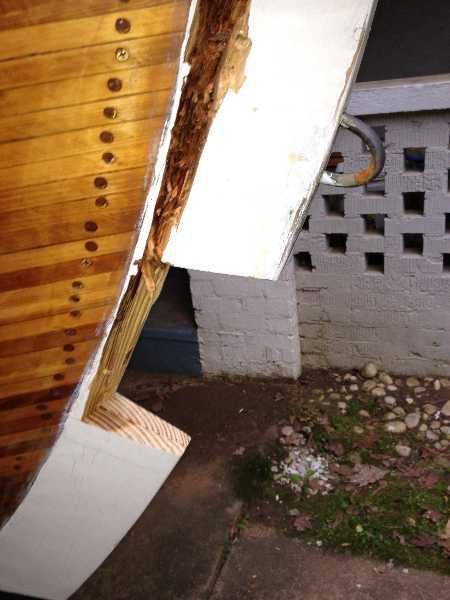
I cut away one side to make room for the template.
This leaves room to fit the template and make it match the curve.

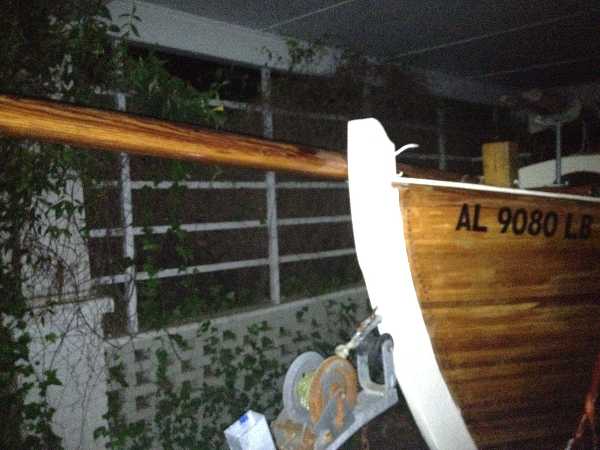
Here the template is fitted. It is actually the first of 4 pieces of yellow pine to be cut. This was the best wood I could get hold of quickly and appears to be strong. With enough epoxy, paint and care it should hold up indefinitely.
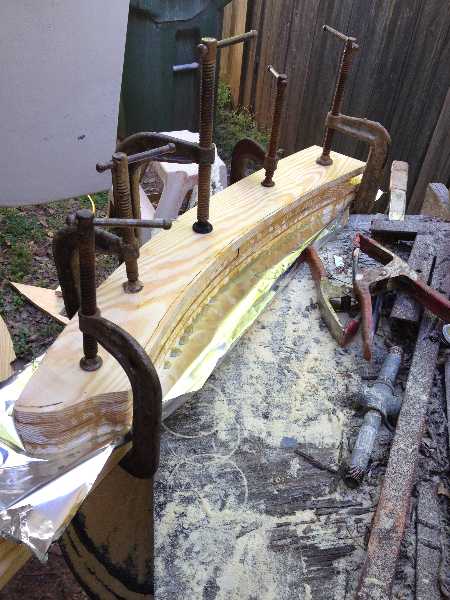
4 pieces surface planed and glued up.
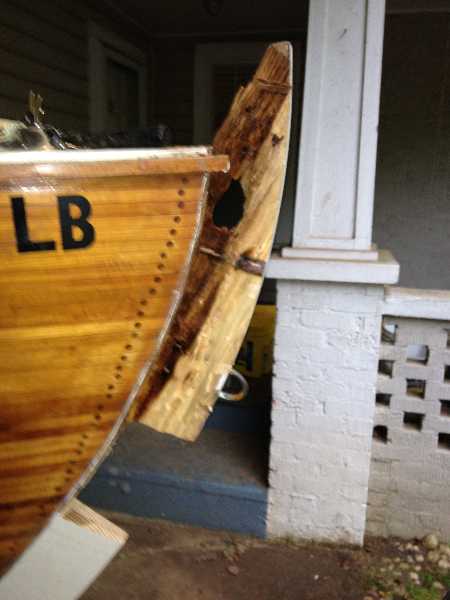
The remainder of the rotted stem is removed and the area cleaned up.
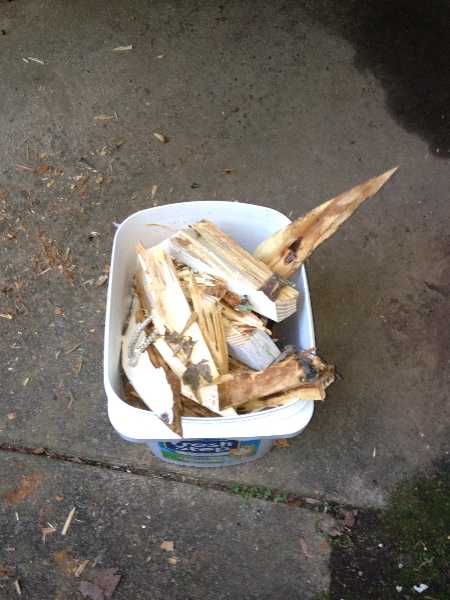
The rotted remains all picked up ready to throw out. The stem was pretty far gone to come apart this easily. Trying to sail like this would have flopped embarrassingly.
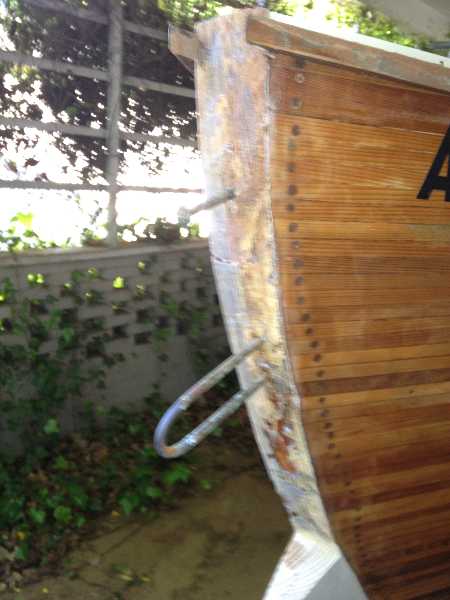
The new stem piece dressed up, drilled and attached. I used a pair of 1/2" bolts to attach it firmly.
Everything is glued up.
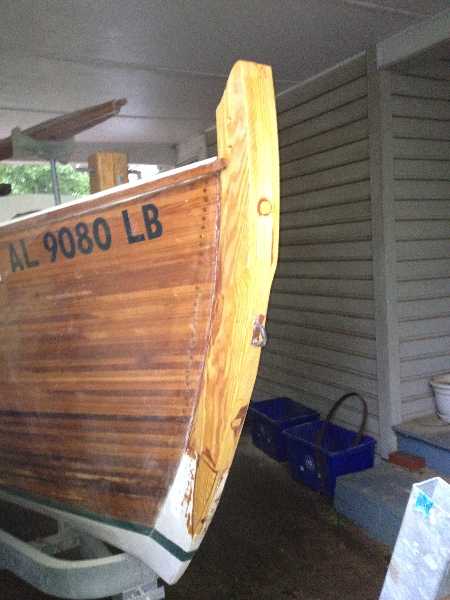
I had to apply epoxy and extra wood to correct some fairing issues, then sand.

The rain was an ever present threat to my work schedule.
I got primer on and painted Monday night. So by Tuesday the repair was complete. The paint was dry by Wednesday - one day to spare.
After charging the batteries, provisioning and fixing other items on the punch list we were ready to hit the road.