The Hatch
Here is the start of the hatch. My goals were to have an easy to use, leak proof, lightweight hatch.
The plans don't give as much detail how to build one. In areas where the plans are less detailed the boat builder is expected to fill in the details with what is known as standard practices. To do this, I purchased a book Boat Joinery & Cabinetmaking by Fred P Bingham. Also I looked at lots of pictures of boats in Woodenboat magazine. On the internet, I looked at several boat building websites. The Stevenson Weekender has a good collection of construction websites with good details. I then worked through various design scenarios to get to a simple sliding hatch design.
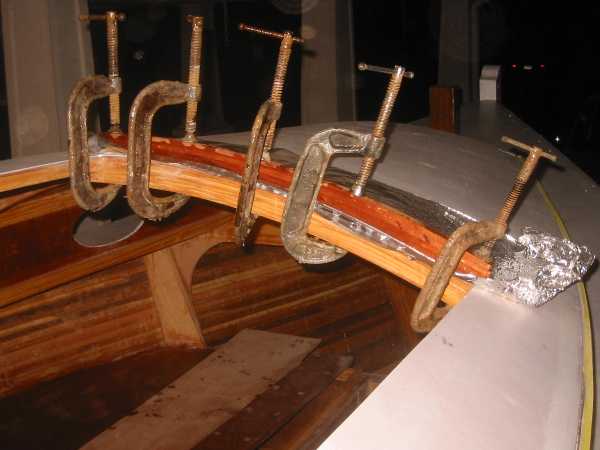
To start construction I glued up three laminated arches using the top of the cabin as the form. The foil keeps the epoxy from sticking to the cabin top. The first arch forms the front of the coaming. The other two arches will be for the frame of the sliding hatch. After curing, I dressed them with a belt sander and trimmed the edges.

Next, I spiled two pieces of mahogany to form the side coamings. These have to be absolutely straight for the hatch to slide properly. I glued and screwed these in place. After curing I checked the straightness with my level. The port coaming was not straight and also it was a bit low which would cause the hatch to possibly scrape on the cabin top. I glued a cheater strip in, let it cure, and planed it down straight. Now I am fitting the slide rails.
The Centerboard

Here I've fitted the centerboard to the boat. Debbie worked from inside the boat to sight the one inch bolt hole. I worked under the boat to slide the centerboard back and forth until the holes lined up. Then she slid the bolt in place. A bit of 3M 4200 to seal the bolt but permit easy removal if necessary will complete the job. Here the pennant hole is clearly visible.