Up
The prototype
I first designed and built a prototype detailed here: Prototype
The full sized battery
June 2016
Armed with some knowledge gained by constructing and using the small LiFePO4 battery box I designed
and built the larger battery box that the Elver requires. This box contains 100 AH of battery capacity at
24 volts nominal to power the existing Minn Kota Riptide 80 trolling motor.
There were some design considerations
- Cell Balancing. Based on the success of the smaller P3C system I stayed with top balancing.
It fits better with the battery management system that I chose. It is also easier to set up.
- The battery management system (BMS) uses terminal bridges that monitor the voltage of each cell
indepdentently. They are wired in series with a sense wire. If any of the bridges detects an under
voltage condition it will interrupt the sense wire and cause the BMS relay to shut down the battery box.
This protects the battery from over discharge.
- Over charge conditions are avoided since the bridges shunt current around the battery when the voltage
of any cell reaches full potential. This avoids overcharging.
- The BMS monitors the full bank voltage. If it drops too low it will trip the relay and shut the
battery bank down.
- It is difficult or impossible to assess the actual state of charge of LiFePO4 cells based on their
voltage except when they are fully charged or fully discharged. Hence the need for an amp hour meter. This
is a Victron Energy BMV-700 unit which counts the amp hours coming into the battery and going out of the battery.
This unit has an optional Bluetooth dongle that allows communication with a smart phone app. The smart phone app
allows various settings such as Peukert factor, tail current, maximum voltage and others to be easily programmed
into the unit. The operation of the unit can be observed with the smart phone app at any time.
- The solar panels require a charge controller. I selected a Victron Energy 75/15 MPPT controller. This
can be programmed for the LiFePO4 batteries by attaching a Bluetooth dongle and connecting with a smart phone
app.
- For the solar panel input monitoring I used a simple DROK combination volt/amp panel meter. This affords
quick check of the performance of the solar panel and helps with troubleshooting any issues. The panel meter is
powered by the solar panel via a drop down resister. Otherwise the voltage put out by the solar
panel would fry the panel meter.
- An output circuit breaker is necessary - just in case - a short develops somewhere. Otherwise
the batteries used in this box have the potential to put out thousands of amps and start a fire.
- A quick balance checker allows checking the cell voltages and total voltage quickly. I can use this
to help troubleshoot if something is not working right.
It took a couple of months to build the box. I had to figure out the necessary dimensions and source
almost all the parts online. It took several iterations of trial and error until I got the arrangements
sorted out. The following pictures detail these efforts.

The battery box must fit in here
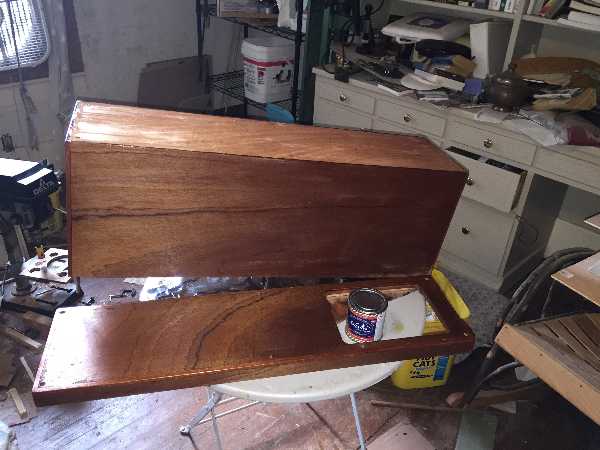
The new battery box under construction
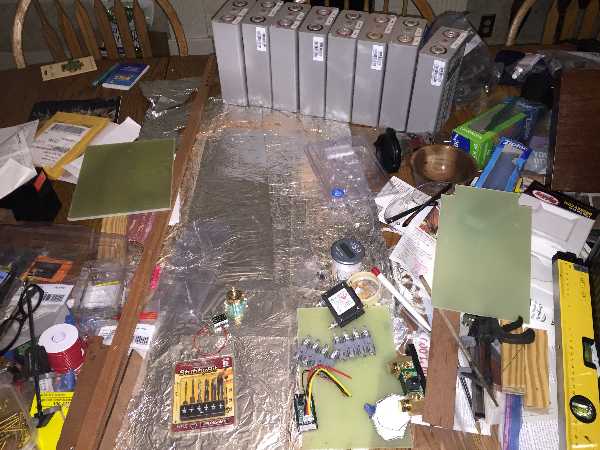
Various bits are awaiting assembly. In the back are the 8 CALB cells that
will go into the project.
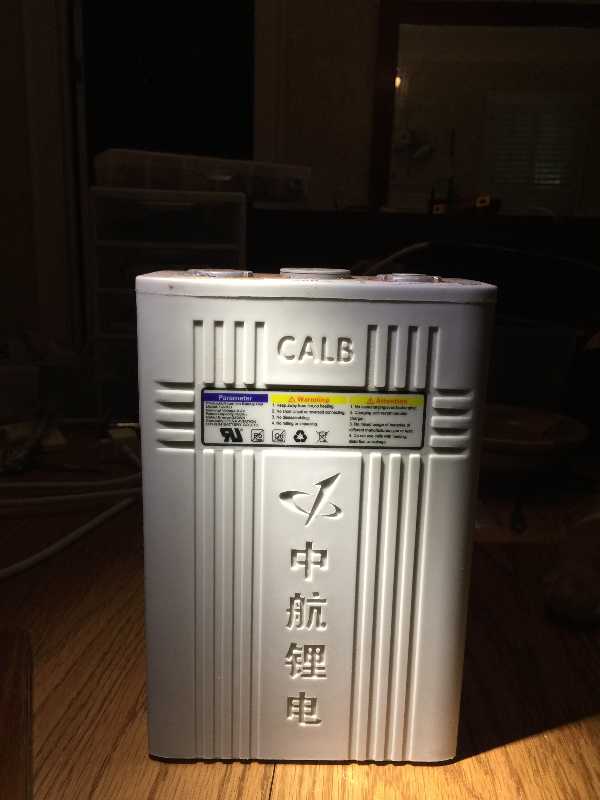
A closeup of a CALB 100AH cell.
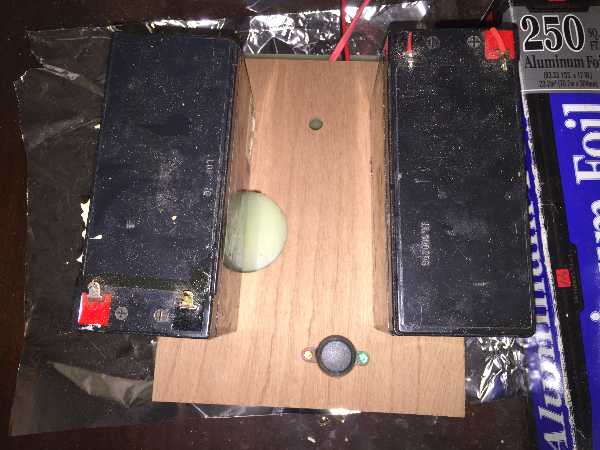
The control panel under construction
Initial testing
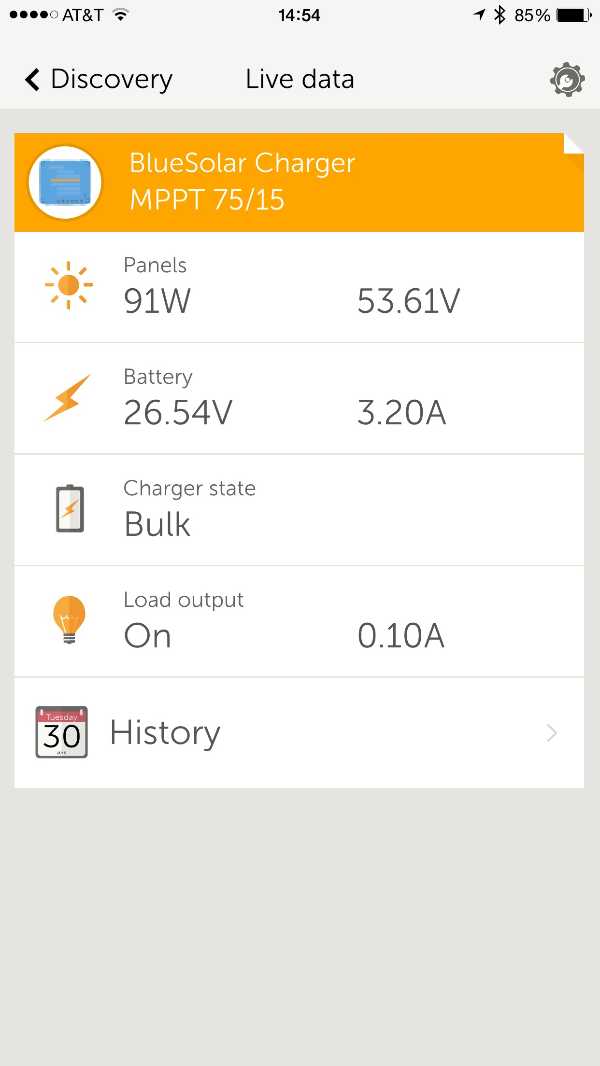
I used a Victron Energy 75-15 solar charge controller with the optional
Bluetooth dongle. Shown here is the smartphone app that talks to the unit and displays
what it's doing.
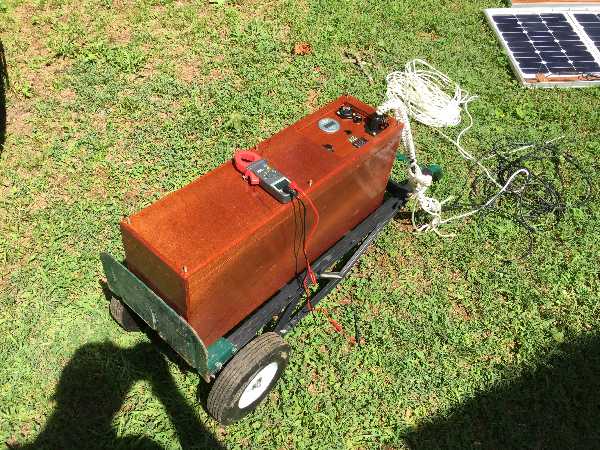
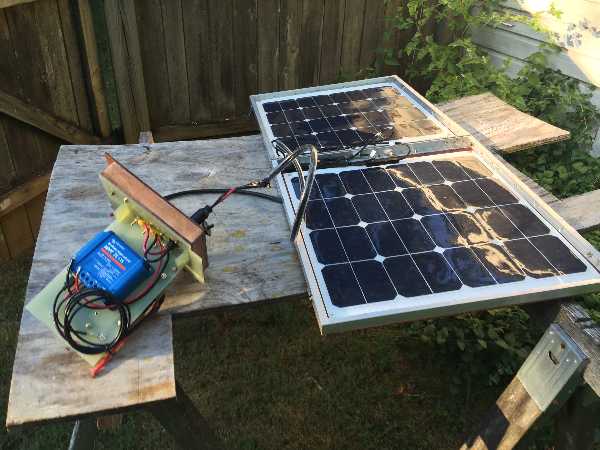
The completed box undergoing testing
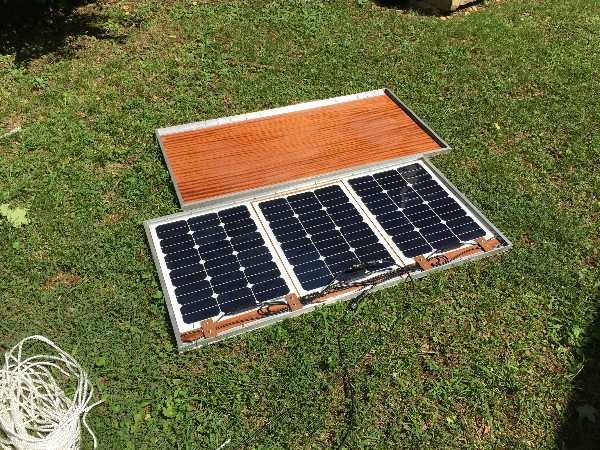
The large solar panel for charging this new battery bank.
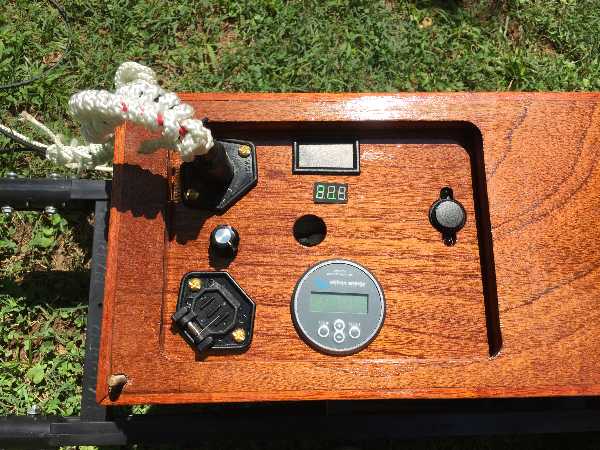
The controls.
- Left top to bottom is the solar input, balance check knob and trolling motor
output.
- Middle top to bottom is the solar panel input monitor, the output circuit breaker and the
BV-701 amp hour meter
- On the right is the button for the battery management system relay.
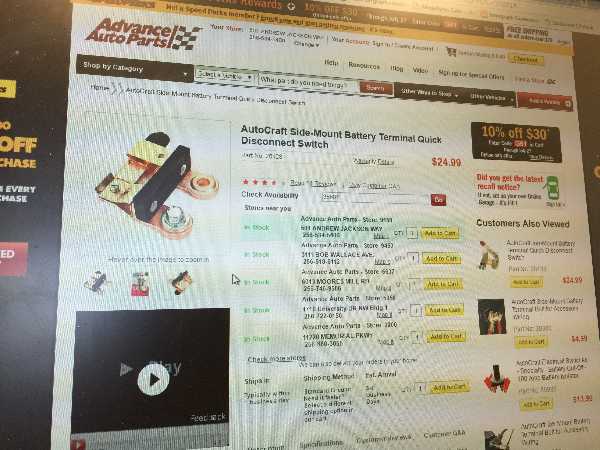
A master battery switch to fit inside the top of the box is needed. This is
necessary for shutting the box down entirely when it is not being used to avoid unnecessary
battery drain. I also cut an access hole in top of the box and fitted a brass deck plate that
I had laying around.
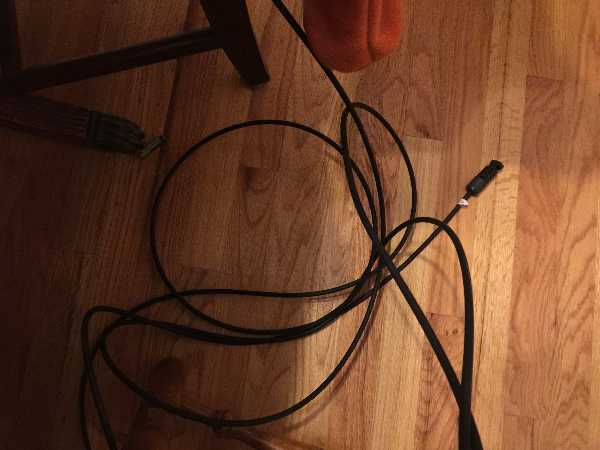
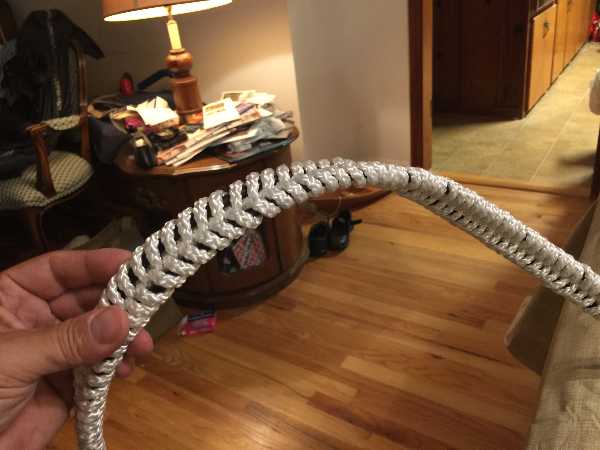
The wires from the solar panels kind'a go everywhere and want to
tangle up
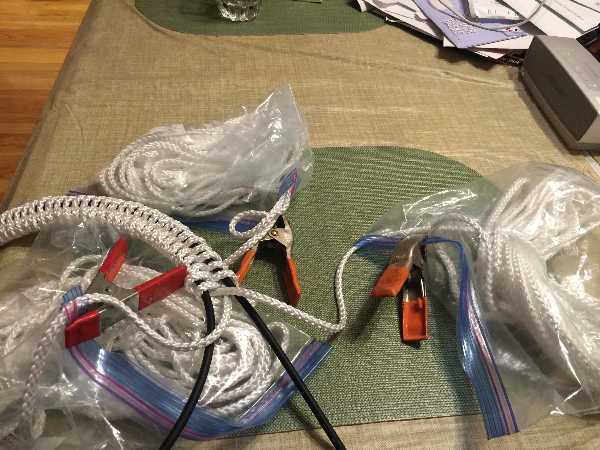
Here i'm braiding on some fancywork to hold the wires as a pair
The finished braid
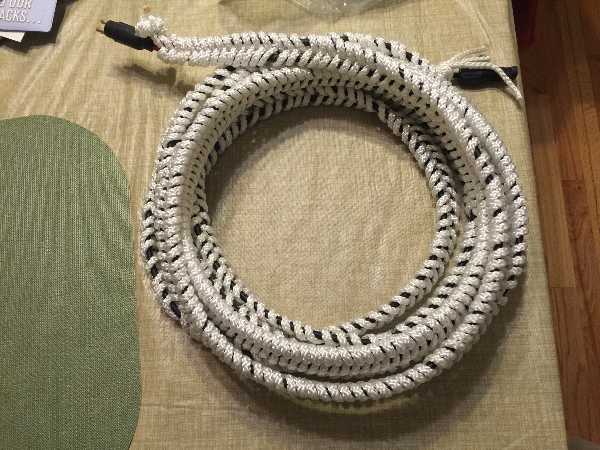
And it coils up nicely.

Here the solar panel is mounted on the boat. It works but I'm not real thrilled with
the appearance. It'll put out around 150 watts which is nice but under high winds it seems
it could be dangerous to handle.
Testing
Testing of the battery box showed some issues. I describe these and what I did about
them here.
Firstly, when drawing high current the voltage dropped considerably and the battery eventually shut
off. I determined that the problem was due to excessive voltage drop in the connections. I
disassembled the battery box, changed the ordering and reassembled it as follows:
- I lightly sanded the mating surfaces of the battery terminals and connector bars. Then I applied no-al-ox
to the mating surfaces.
- I placed the battery terminals on the batteries.
- Placed washers on top to provide a flat surface for the BMS balance bridges.
- Wires to the balance check circuit.
- I substituted the original stainless steel bolts with bronze bolts. Bronze conducts
electricity much better than stainless steel by a factor of 50.
With that done I was able to draw 45 amps without appreciable voltage drop.
The second issue is that the trolling motor liked to shut down when too much power was
applied using the Kipawa 3rd party propeller. I removed that and attached the stock weed
wacker propeller that came with the trolling motor. After that I did not have any more
problems with shutdown.
The Victron Energy uses screw terminals of a type which I am really not a fan of. They
come loose too easily, especially when the boat is being trailered down the road. Currently
I have to open the box up and inspect for loose connections. I am considering some alternatives.
I wish Victron Energy would redesign the module to use a terminal block built into the device
rather than screw terminals. Unlike with a screw terminal I can torque down a terminal block
connection with a lock washer for much more reliable connections.
Prev
Next